
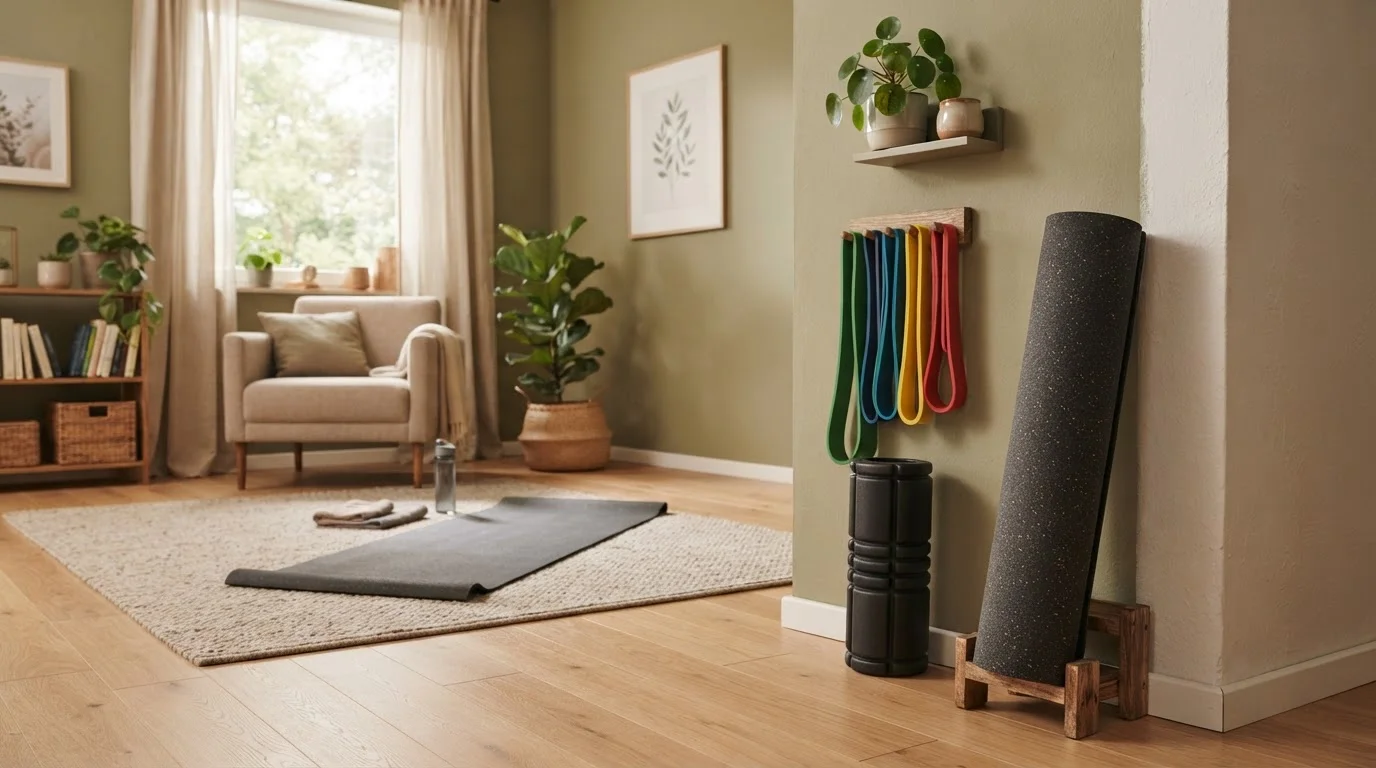
Why a Defined Workout Space Makes a Difference
Research in behavioral science consistently shows that environmental cues shape habits. When a specific area of your home is visually and physically associated with exercise, starting a workout requires less willpower - the space itself prompts the behavior. A dedicated corner also eliminates the setup friction that causes many home exercise routines to lapse: if your mat is already down and your bands are on the wall, the barrier to beginning drops significantly.
This doesn't mean you need a spare room or a large home. The strategies here are designed for real households where space is shared and storage is limited. If you'd rather skip a fixed space entirely and work out wherever suits you, bodyweight fitness for every room in the house is a strong alternative approach. But for many homeowners, having one reliable corner pays off in consistency.
Start With What You Already Own
Before purchasing anything, audit your home for usable equipment. Resistance bands, a jump rope, a sturdy chair, or a filled backpack can all serve as workout tools. See our guide on household objects that double as workout tools for creative ideas that cost nothing.
What You'll Need Before You Start
Gather the following before beginning the setup process:
What you will need
Tape measure
Accurately measure the available floor area and ceiling height before selecting equipment or storage solutions.
Interlocking foam tiles or exercise mat
Protect floors from equipment weight and provide joint cushioning during floor-based movements.
Stud finder
Locate wall studs to safely anchor hooks, shelves, or wall-mounted bars.
Wall hooks or pegboard panel
Store resistance bands, jump ropes, and straps vertically to free up floor space.
Compact storage rack or crate
Corral small equipment like dumbbells, blocks, or foam rollers in a single footprint.
You don't need all of the optional items immediately. Start with the essentials - a measured space and protective flooring - then add storage and equipment incrementally as your routine develops. For guidance on whether training in small spaces actually works for your preferred exercise style, review that resource before investing in equipment.
Step-by-Step Setup
Follow these steps in order. Each builds on the previous one, so skipping ahead - particularly to equipment purchases before the floor plan is settled - often leads to poor placement decisions and wasted money.
Measure and map your available space
Use a tape measure to find the largest contiguous clear area you can realistically dedicate. A rectangle of roughly 6×6 feet (36 sq ft) is enough for mat work, resistance training, and light cardio. Measure ceiling height too - overhead movements like jumping or a pull-up bar require at least 8 feet of clearance. Sketch a rough floor plan noting doors, vents, and outlets so nothing blocks airflow or emergency exits.
Choose the right location in your home
Evaluate candidate spots against three criteria: ventilation, flooring type, and proximity to daily traffic. A bedroom corner, living room alcove, garage edge, or finished basement section all work well. Avoid areas directly beside a bed or sofa where the visual cue to rest competes with the cue to exercise. If considering a garage, our garage organization guide covers how to zone a working garage effectively.
Protect and define the floor area
Lay interlocking foam tiles or a large exercise mat across the entire workout footprint before placing any equipment. This serves two purposes: it protects hardwood or tile from scratches and impact, and it visually defines the space - a psychological cue that this zone is for movement. Most foam tile sets can be cut to fit irregular shapes. Choose tiles rated for exercise use rather than general play mats, as exercise-grade foam handles repetitive impact better over time.
Plan vertical storage before buying equipment
Wall space above the workout footprint is often completely unused. A simple pegboard panel, a row of heavy-duty hooks, or a narrow floating shelf can store resistance bands, jump ropes, foam rollers, and straps without occupying any floor area. Sketch out storage placement before purchasing equipment so you buy only what your wall and floor can realistically accommodate. For broader home organization strategies, apply the same principle: assign a fixed home to every item before it enters the space.
Select multi-purpose equipment over single-use items
Prioritize equipment that covers multiple movement patterns: resistance bands replace a rack of dumbbells for many exercises; a single adjustable kettlebell handles swings, presses, and carries; a suspension trainer (anchored to a door or wall stud) enables dozens of bodyweight progressions. Avoid purchasing large single-use machines - they consume significant floor space and often become expensive storage. If you prefer bodyweight-only training, our guide on bodyweight fitness for every room shows how to structure full workouts with no equipment at all.
Establish a reset routine to keep the space usable
A dedicated corner only stays functional if everything returns to its designated spot after each session. Spend two minutes at the end of every workout resetting: mat rolled or flat, bands on hooks, weights on the rack. This habit prevents the corner from reverting to general storage - the most common failure mode for home workout spaces. Pairing your workout reset with an existing routine (such as after a morning coffee or before a shower) makes it easier to sustain. For ideas on fitting workouts themselves into a packed schedule, see our guide to short workouts for busy homeowners.
Wall Mounting Requires Structural Care
Before installing wall hooks, shelves, or pull-up bars, always locate wall studs and confirm the wall material can bear the load. Incorrect anchoring can cause equipment to fail unexpectedly. If you're unsure, consult a qualified handyperson or refer to our DIY home repairs guides for safe anchoring practices.
Keeping the Space Functional Long-Term
The most common reason a home workout corner fails isn't poor equipment - it's gradual drift. Items that don't belong accumulate, the mat gets pushed aside, and within a few weeks the corner has reverted to general clutter. Treat the space with the same intentionality you'd apply to any organized area of your home. Our broader home organization hub has practical decluttering strategies that translate directly to keeping this zone clear.
Revisit the space every month: remove anything that doesn't belong, assess whether your current equipment matches the workouts you're actually doing, and adjust storage if something is consistently left out of place. A small, well-maintained workout corner used regularly is far more valuable than an elaborate setup that stops being used within a month.
This article provides general home fitness and organization information. It is not a substitute for advice from a qualified fitness professional or healthcare provider. If you have any health conditions or physical limitations, consult a qualified professional before beginning a new exercise routine.