What Makes These Two Caulks Fundamentally Different
Caulk is a sealant - its job is to fill gaps, block air movement, and prevent moisture from sneaking into places it shouldn't be. But not all caulks are built from the same chemistry, and that matters a great deal once you factor in where you're applying it.
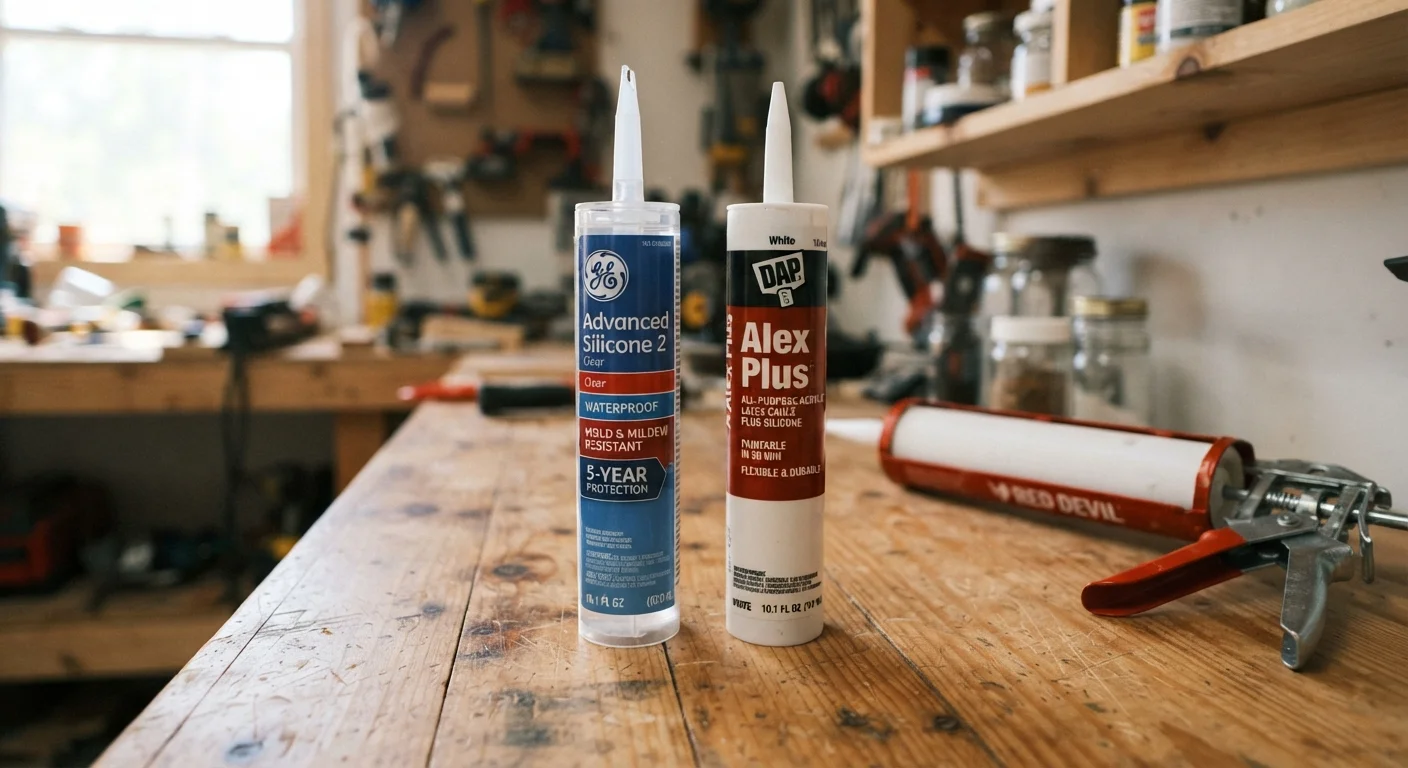
Silicone caulk is a rubber-based compound. Once cured, it stays permanently flexible, meaning it can stretch and compress as building materials shift with temperature changes without cracking or separating. It forms a waterproof bond on glass, ceramic, porcelain, and many metals. The tradeoff: it's harder to tool smoothly, doesn't accept paint, and requires mineral spirits or a specialty solvent for cleanup if you get it on unintended surfaces.
Latex caulk (also sold as acrylic latex or painter's caulk) is water-based. It cleans up with plain water while wet, can be smoothed easily with a damp finger, and takes paint once dry. It's forgiving to work with, especially for beginners. The limitation is flexibility - over time, especially in areas with moisture cycling or joint movement, latex can harden and crack.
| Criterion | Silicone Caulk | Latex Caulk |
|---|---|---|
| Water resistance | Excellent - fully waterproof | Moderate - not suited for wet areas |
| Flexibility after cure | Remains flexible long-term | Can harden and crack over time |
| Paintability | Cannot be painted | Accepts latex and acrylic paint |
| Cleanup | Requires solvent (mineral spirits) | Water cleanup while wet |
| Ease of application | Trickier to tool smoothly | Beginner-friendly, easy to smooth |
| Best location | Wet areas and exterior joints | Interior trim and dry surfaces |
| UV and weather resistance | High - handles outdoor exposure | Low - degrades outdoors over time |
Understanding this core tradeoff - durability and water resistance versus workability and paintability - is what guides every caulk decision.
Where Each Caulk Belongs in Your Home
The single most useful way to decide between the two is to ask: Will this surface get wet regularly?
Use Silicone Caulk For:
- Bathtubs and shower surrounds - the joint between the tub and tile wall is one of the most failure-prone spots in a bathroom; silicone is the professional standard here
- Kitchen and bathroom sinks - anywhere the rim meets a countertop, silicone prevents water from seeping underneath
- Exterior window and door frames - silicone handles UV exposure and temperature swings that latex cannot
- Glass-to-glass or glass-to-metal joints - silicone is one of the few sealants that bonds effectively to non-porous smooth surfaces
Use Latex Caulk For:
- Interior baseboards and crown molding - fill gaps before painting for a clean, professional look
- Window and door casings inside the home - where air sealing, not water sealing, is the goal
- Drywall corners and seams - especially before paint or primer
- Any surface you plan to paint - latex caulk integrates seamlessly under a coat of latex or acrylic paint
For a broader view of how sealing gaps fits into protecting your home from moisture and air infiltration, see our complete guide to weatherproofing your home.
A Note on "Siliconized" Latex Products
Some products are labeled as siliconized acrylic latex caulk - a hybrid formulation that blends acrylic latex with a silicone additive. These can be painted and clean up with water while offering slightly better flexibility and moisture resistance than standard latex. They don't match pure silicone's waterproofing in high-exposure areas, but they're a reasonable middle-ground option for semi-exposed locations like exterior trim that will be painted.
Application Tips That Prevent Common Mistakes
Even the right caulk fails when applied incorrectly. A few fundamentals apply to both types:
24-48 hrs
Silicone caulk full cure time
Most silicone sealant manufacturers recommend waiting at least 24 hours before water exposure, with thicker beads potentially requiring up to 48 hours.
5-20 yrs
Typical lifespan of silicone caulk
In well-prepared wet areas, silicone sealant can last significantly longer than latex, which typically requires replacement every 3-5 years in moisture-prone joints.
- Remove old caulk completely. Neither silicone nor latex bonds reliably over existing sealant. Use a plastic scraper or utility knife to cut out old material, then wipe the joint with isopropyl alcohol to remove residue and oils.
- Make sure the surface is dry. Latex caulk especially needs a dry surface to cure properly. Silicone tolerates a slightly damp surface but still performs better when dry.
- Cut the nozzle at a 45-degree angle, slightly smaller than the gap you're filling. A bead that's too wide is harder to tool and more prone to cracking as it cures.
- Tool the bead immediately. For latex, a damp finger or tool works well. For silicone, work quickly with a dry finger or a caulk-finishing tool before a skin forms.
- Allow full cure time before exposure to water. Latex caulk may feel dry to the touch in an hour but needs 24 hours before it gets wet. Silicone typically needs 24-48 hours to cure fully, depending on humidity and bead thickness.
Skipping surface prep is the leading cause of caulk failure - it's worth taking an extra 15 minutes to do it right rather than redoing the job within a year.