Why Weatherproofing Starts on the Outside
Most homeowners discover a weatherproofing problem from the inside - a drafty hallway, a damp patch on the ceiling, or condensation around a window frame. But the fix almost always needs to happen on the exterior, where air and moisture first make contact with your home's shell.
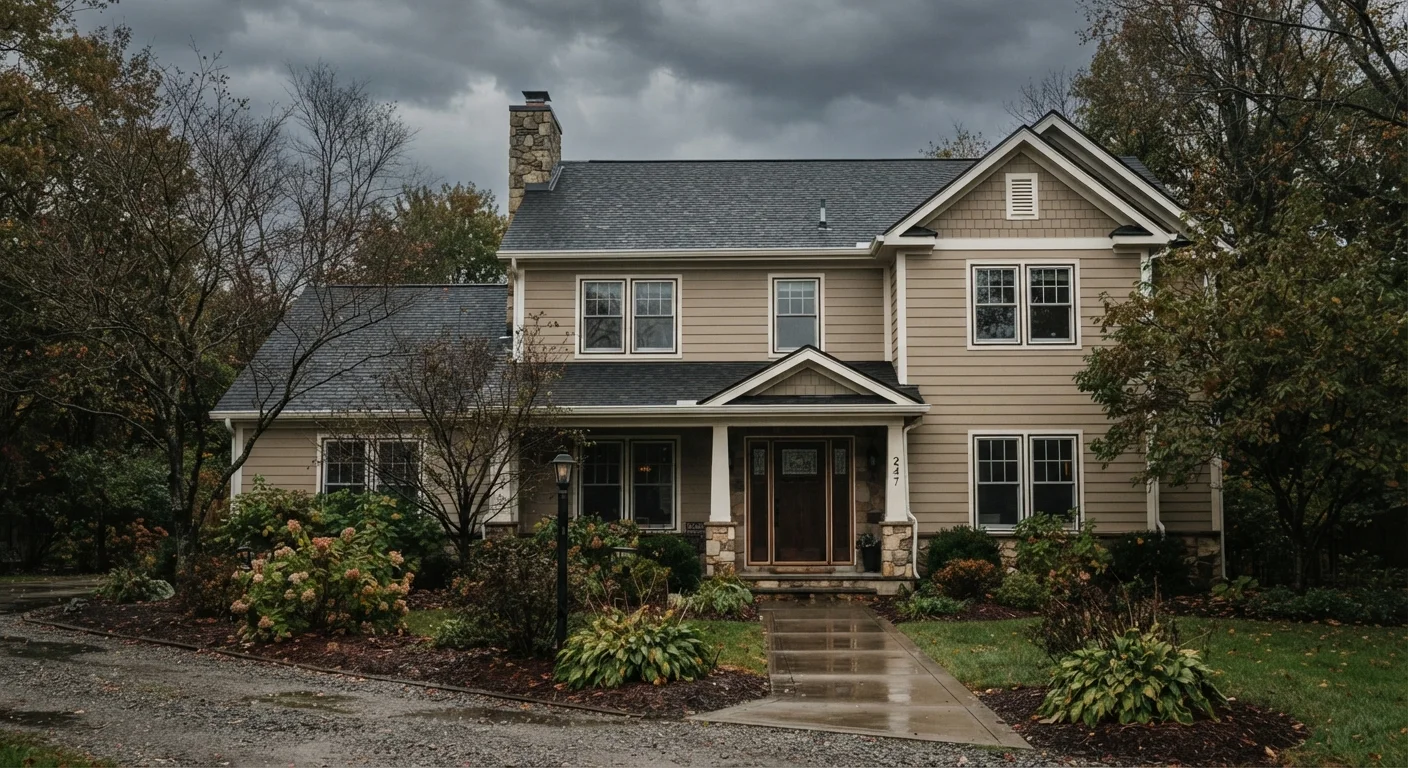
Think of your home as a series of layers. The outermost layer - cladding, roofing, doors, and windows - is your primary defense. When that layer fails, moisture and cold air work inward, degrading insulation, rotting framing, and eventually affecting comfort and energy costs. Understanding this "outside-in" logic is what separates targeted repairs from surface-level patches that don't last.
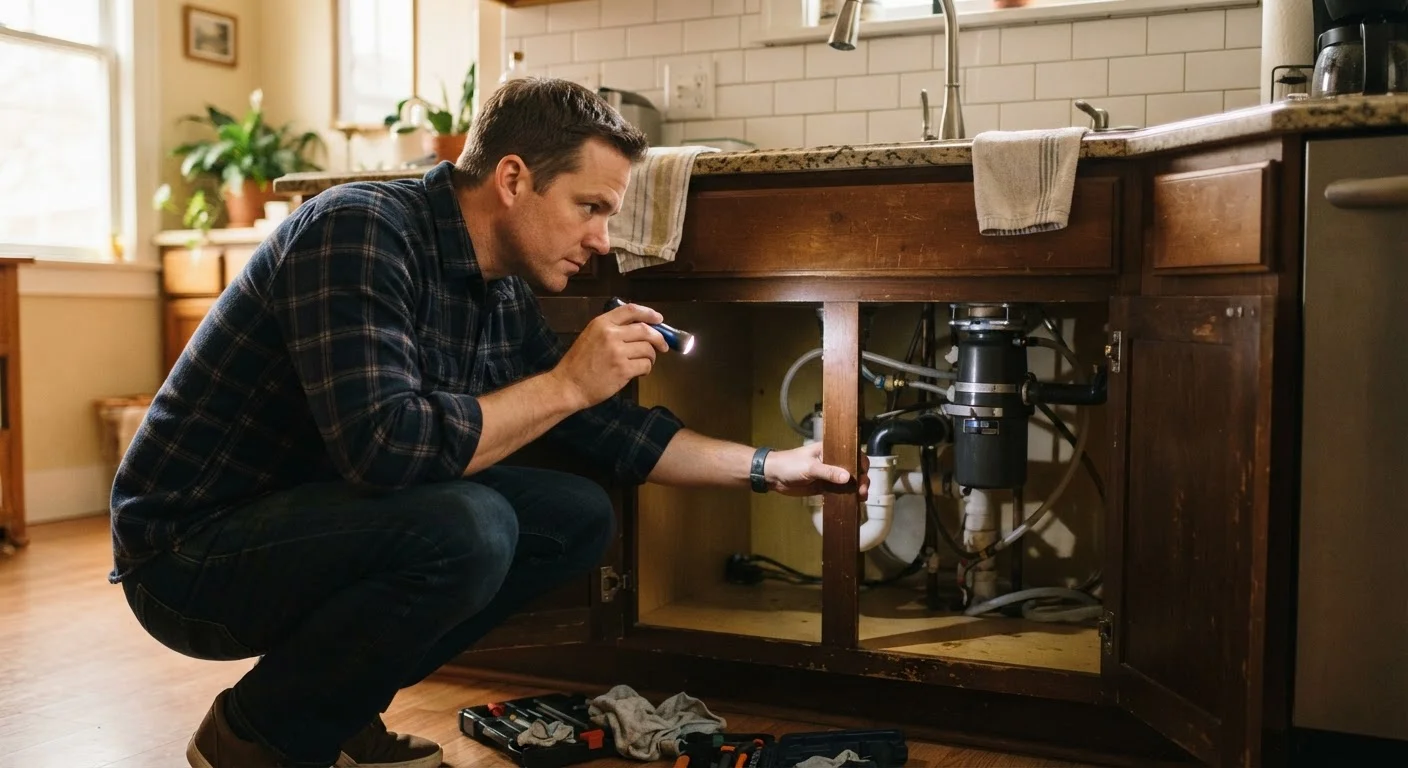
Before picking up any tools, take time to do a proper walk-around assessment. Assessing a repair job before you start can save you hours of rework. Look for cracked caulk, gaps at material transitions, and signs of rust or staining that signal water is already getting in.
25-40%
Energy lost through air leaks in typical homes
The U.S. Department of Energy estimates that air leaks account for 25-40% of heating and cooling energy used in most homes.
~$200
Typical cost of basic weatherstripping a home
Industry estimates suggest a full door and window weatherstripping project for an average home can often be completed for under $200 in materials.
5-10 years
Useful lifespan of exterior caulk
Most exterior-grade caulks have a functional lifespan of five to ten years before shrinkage and cracking allow moisture infiltration.
Doors and Thresholds: Closing the Biggest Gaps
Exterior doors are among the most common entry points for drafts. The seal between a door and its frame - called weatherstripping - compresses thousands of times over the life of a door and eventually loses its grip. The threshold seal along the bottom (sometimes called a door sweep) is equally prone to wear.
To test your door seals, close the door on a piece of paper. If you can slide it freely, the seal is inadequate. Foam, felt, vinyl, and rubber weatherstripping are all widely available; rubber and vinyl tend to last longer in climates with temperature extremes. Door sweeps attach to the bottom edge of the door and should lightly contact the threshold without dragging.
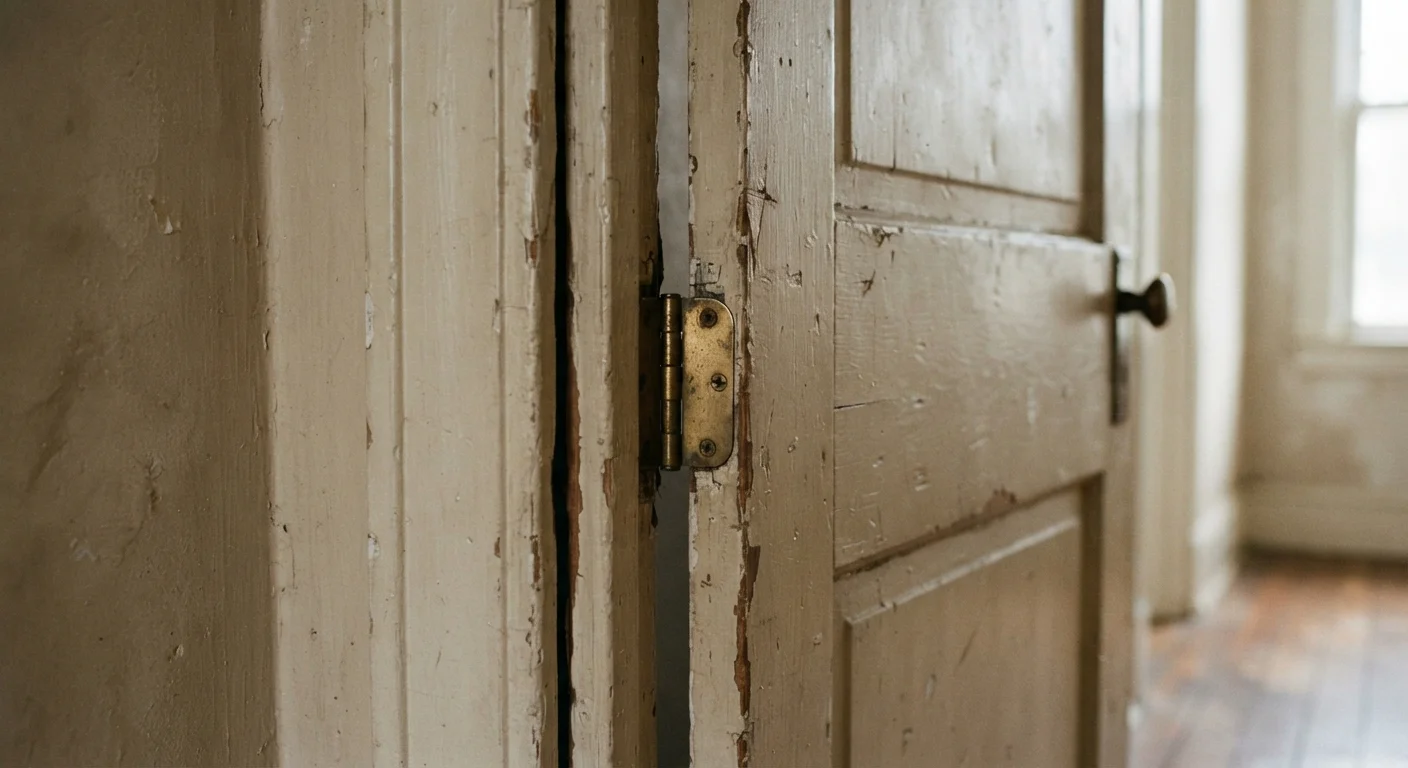
For doors that are misaligned or that no longer sit squarely in the frame, the issue may be deeper than seals alone. A diagnostic walkthrough for problem doors can help you identify whether you're dealing with settling, hinge wear, or frame swelling before you invest in new hardware.
Do your door draft test at night with a flashlight - hold it along the door edges while a helper stands outside in the dark. Light leaks reveal gaps faster than the paper test.
Visual light gaps are easier to spot than tactile air movement, especially at corners and hinge-side edges where weatherstripping often fails first.
When replacing exterior caulk, apply it on a dry day when temperatures are between 40°F and 80°F - most caulk products cure poorly outside this range and won't adhere correctly.
Temperature affects caulk adhesion and curing time; improper application conditions are a leading reason recaulking jobs fail within the first year.
Windows: Glazing, Frames, and Exterior Caulk
Single-pane windows lose heat rapidly in cold weather. If full replacement isn't in the budget, secondary glazing (an interior acrylic or glass layer) or heavy-duty window film can meaningfully reduce heat transfer. These are temporary measures, but they work.
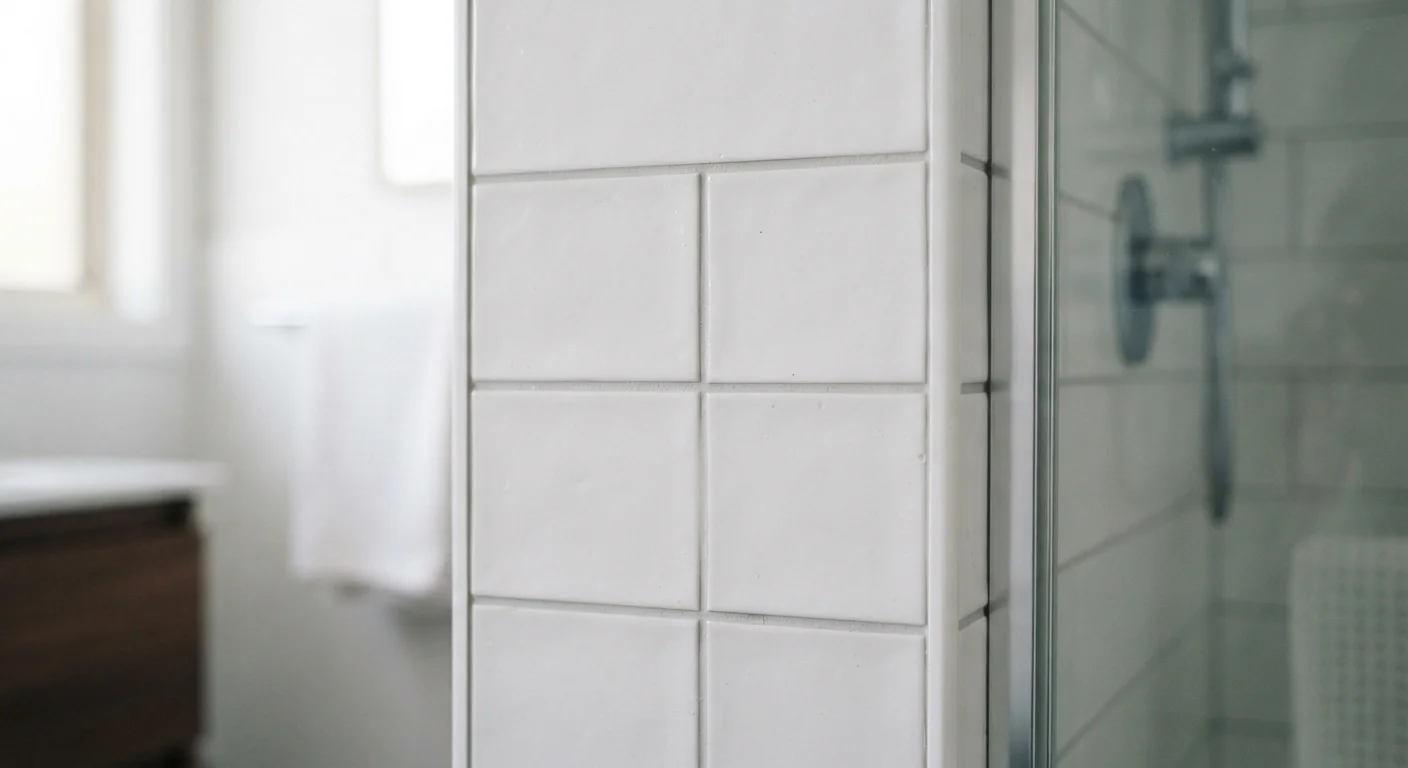
The more immediate weatherproofing job for most windows is recaulking. Exterior caulk around window frames dries out, shrinks, and cracks over time - typically within five to ten years depending on climate. Scrape out old caulk completely before applying new material; layering new over old traps moisture rather than sealing it out. Silicone or siliconized latex caulk holds up well on exterior surfaces.
Check the weep holes along the bottom of window frames - small slots designed to drain water from the frame channel. Painted-over or debris-clogged weep holes cause water to back up inside the frame, leading to rot and mold. Clear them with a thin wire or toothpick. This five-minute task is one of the most overlooked window maintenance steps.
Roof Flashing, Vents, and Penetrations
Flashing is the thin metal (typically aluminum or galvanized steel) that seals the joints between roofing materials and vertical surfaces - chimneys, dormers, skylights, and roof-to-wall transitions. When flashing lifts, corrodes, or separates, water runs directly into your wall or ceiling cavity.
Signs of flashing failure include water stains inside near chimneys or skylights, rust streaks on exterior walls below roof joints, or visible lifting at the edge. Resealing minor gaps with roofing sealant is a short-term fix; reseating or replacing flashing is a job that typically warrants a licensed roofing professional, particularly on pitched roofs where fall hazards apply.
Roof vents, plumbing stacks, and exhaust fans are also common leak points. The rubber boot seals around these penetrations degrade in ultraviolet light and should be inspected every few years. Replacement boots can often be slid over the pipe without removing surrounding shingles - but confirm this with a roofing professional before attempting it yourself.
Roof Work Carries Serious Fall Risk
Any inspection or repair on a pitched roof should be approached with extreme caution. Falls from roofs are among the leading causes of serious injury in home repair. If you cannot safely access the roof from a ladder at the eave level, hire a licensed roofing contractor. Never work on a wet, icy, or steeply pitched roof without professional training and proper fall-arrest equipment.
Exterior Cladding, Siding, and Foundation Gaps
Cladding - whether vinyl siding, fiber cement, wood, or stucco - protects the structural sheathing beneath. Gaps at joints, around utility penetrations, and at the base of walls are where bulk water and wind-driven rain get through. Walk your exterior after heavy rain and look for wet spots, efflorescence (white salt deposits on masonry), or paint that's bubbling or peeling from the inside out.
Small cracks in stucco or mortar joints can often be cleaned out and filled with appropriate patching compound. Gaps around utility penetrations - where pipes or conduit enter the wall - should be sealed with a weatherproof, paintable caulk or, for larger gaps, an expanding foam sealant designed for exterior use. Check that any foam you use is rated for exterior applications and paintable if it will be exposed.
At the foundation level, confirm that soil grades away from the house - a six-inch drop over the first ten feet is a commonly cited guideline from building professionals. Poor grading pushes surface water toward the foundation rather than away from it, and no amount of interior sealing compensates for that. If you're budgeting for these improvements, a homeowner financial planning resource can help you sequence repairs without overextending.
Prioritizing Repairs and When to Call a Pro
Not all weatherproofing tasks carry equal urgency. Water intrusion near electrical panels, structural framing, or HVAC equipment is a higher-priority problem than a minor draft at a window. A useful rule of thumb: if moisture is already present inside the structure, address that before cosmetic fixes.
DIY-appropriate tasks generally include replacing weatherstripping, recaulking windows and doors, clearing weep holes, sealing exterior penetrations, and patching small cracks in siding or stucco. Tasks that warrant professional assessment include roof flashing repair, structural cladding repair, foundation waterproofing, and any work involving permits - which are commonly required for significant exterior alterations in most US jurisdictions. Always verify local code requirements before starting exterior work.
Investing in weatherproofing now pays dividends in reduced energy costs later. Understanding how your home's thermal envelope affects heating bills puts these repairs in financial context. And once you've sealed the shell, a seasonal heating system checklist ensures the savings carry through every cold month.