Why a Pre-Check Saves More Than Money
Calling a tradesperson without first running through a few basic checks is a bit like scheduling a doctor's appointment before taking your temperature. You might genuinely need professional help - but you might also find the problem resolves itself or falls squarely within your own reach.
This checklist is designed for homeowners who are comfortable with everyday consumer decisions but may not have a background in home systems. It won't replace a licensed electrician, plumber, or HVAC technician when one is truly needed. What it will do is help you arrive at that call better informed - or, in some cases, skip it altogether.
Before you start, take a look at our guide to assessing a repair job for a deeper look at how to read a situation before reaching for a tool or a phone.
Gather Basic Information First
Run the Simple Checks
Assess Scope and Safety
Prepare to Call a Professional
What to Have Ready Before You Call
If after working through the checklist you determine a professional is necessary, a little preparation on your end makes the call faster and the quote more accurate. Tradespersons can give better estimates when you can describe the symptom precisely, point to where the issue is located, and confirm whether the problem is new or recurring.
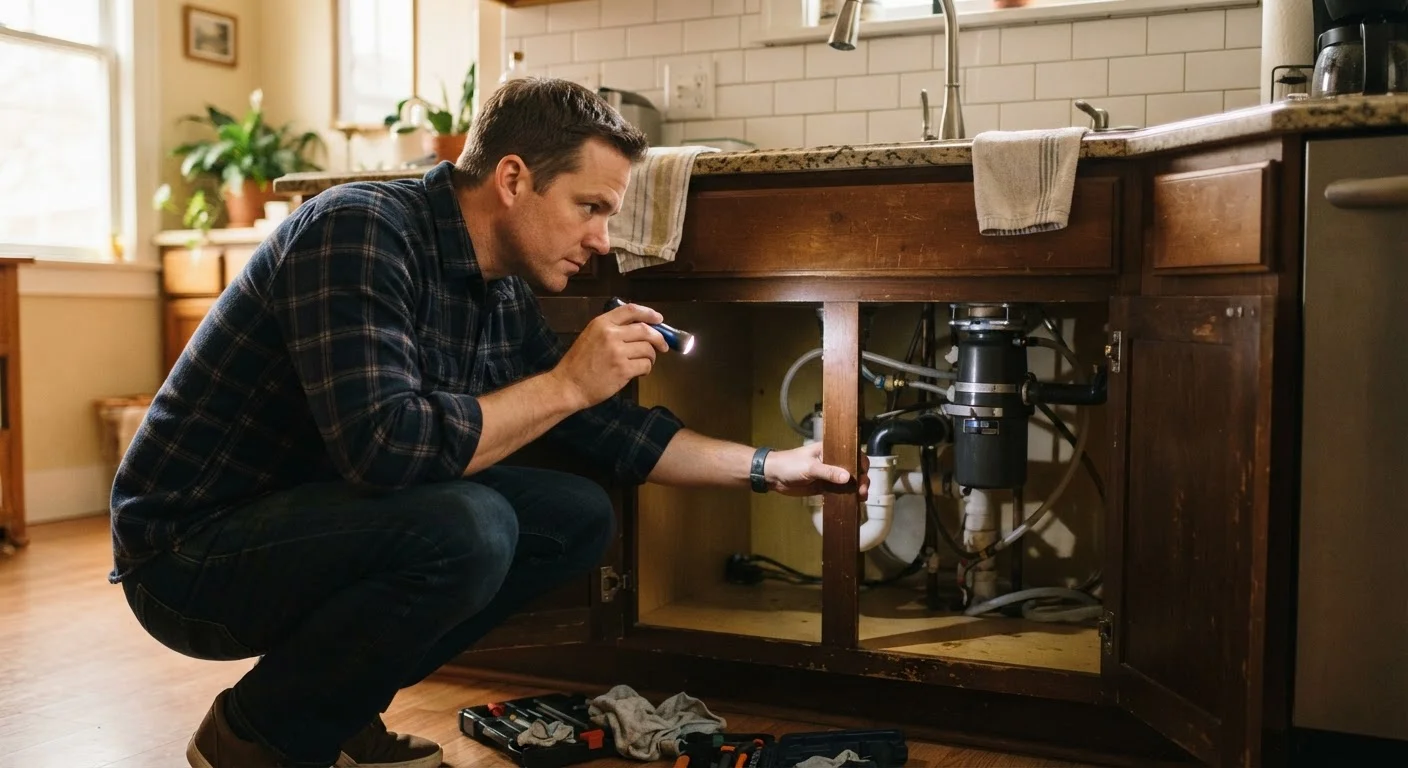
Flashlight or headlamp
Inspect dark spaces under sinks, inside panels, and in crawl spaces safely and clearly.
Smartphone camera
Document the problem with photos or video to share with the tradesperson before or during the call.
Pen and notepad
Record model numbers, symptom details, and any troubleshooting steps you already tried.
Multimeter (basic)
Test whether an outlet is live or a circuit is carrying voltage, avoiding unnecessary electrician call-outs for dead outlets.
Pipe wrench or adjustable pliers
Tighten a loose supply valve or fixture connection as a first-step check before escalating to a plumber.
Having photos or a short video of the problem - water dripping, a flickering light, a crack pattern - is genuinely useful. Most professionals will ask for this before scheduling a visit anyway. It's also worth noting whether the issue is getting worse over time, which helps the tradesperson gauge urgency.
If the repair is likely to be significant, it's worth understanding your financial options ahead of time. See our pre-decision checklist for borrowing against your home if you anticipate a large repair bill.
Stop and Call Immediately for These Signs
If you smell gas, see sparking or scorching near wiring, notice sewage odor from drains in multiple rooms, or observe water near your electrical panel, stop all checks and leave the area if safe to do so. These situations require a licensed professional or emergency services - they are not candidates for DIY investigation. Do not attempt to diagnose or resolve them yourself.
For repairs involving your home's plumbing, our article on which plumbing repairs are safe for homeowners breaks down exactly where the DIY line sits. And if you do decide to take on the task yourself, review safe working habits for DIY home repairs before you start.
Don't Let a Small Problem Sit Too Long
A minor drip, a small damp patch, or a single flickering light can feel easy to defer. In practice, water damage compounds quickly behind walls, and electrical intermittency can indicate a wiring fault. If your pre-check doesn't resolve the issue within a day or two, book a professional rather than waiting to see if it resolves itself.