Why Systematic Diagnosis Matters
A sticking, squeaking, or misbehaving door is one of the most common repair calls homeowners face - and one of the most commonly mishandled. The temptation is to jump straight to a fix: plane the edge, tighten a screw, or spray a lubricant. But without identifying the actual cause, fixes either don't hold or quietly make things worse.
Door problems typically fall into three categories: mechanical (loose hardware, worn hinges), material (wood swelling, paint buildup), and structural (frame movement, settling). Each calls for a different response, and confusing one for another wastes time and can damage the door or frame. The diagnostic walkthrough below works through the most common causes in order of likelihood, starting with the simplest checks.
What you will need
Before starting, it's worth reading our guidance on how to properly assess a repair job - it applies directly to door work and helps you spot signs that a job has grown beyond a basic fix.
Flathead screwdriver
Tighten loose hinge screws and test hinge pin movement.
Pencil or chalk
Mark the exact point on the door edge where binding occurs.
Block plane or coarse sandpaper
Remove a small amount of material from a door edge that binds against the frame.
Longer replacement screws (3-inch)
Anchor loose hinge plates into the door stud behind the frame for a more secure hold.
Petroleum jelly or bar soap
Lubricate squeaky hinge pins without staining painted surfaces.
Flashlight
Inspect gaps around the door frame and examine the hinge condition closely.
Step-by-Step Diagnostic Walkthrough
Open and close the door slowly to locate the symptom
Before reaching for any tool, observe the door through its full range of motion. Open it completely, then close it at a deliberate pace. Notice where resistance begins, where it squeaks, and whether the latch bolt meets the strike plate cleanly. Running your hand lightly along the door edge as it moves can help you feel subtle binding that isn't visible yet.
Check all hinges for loose screws
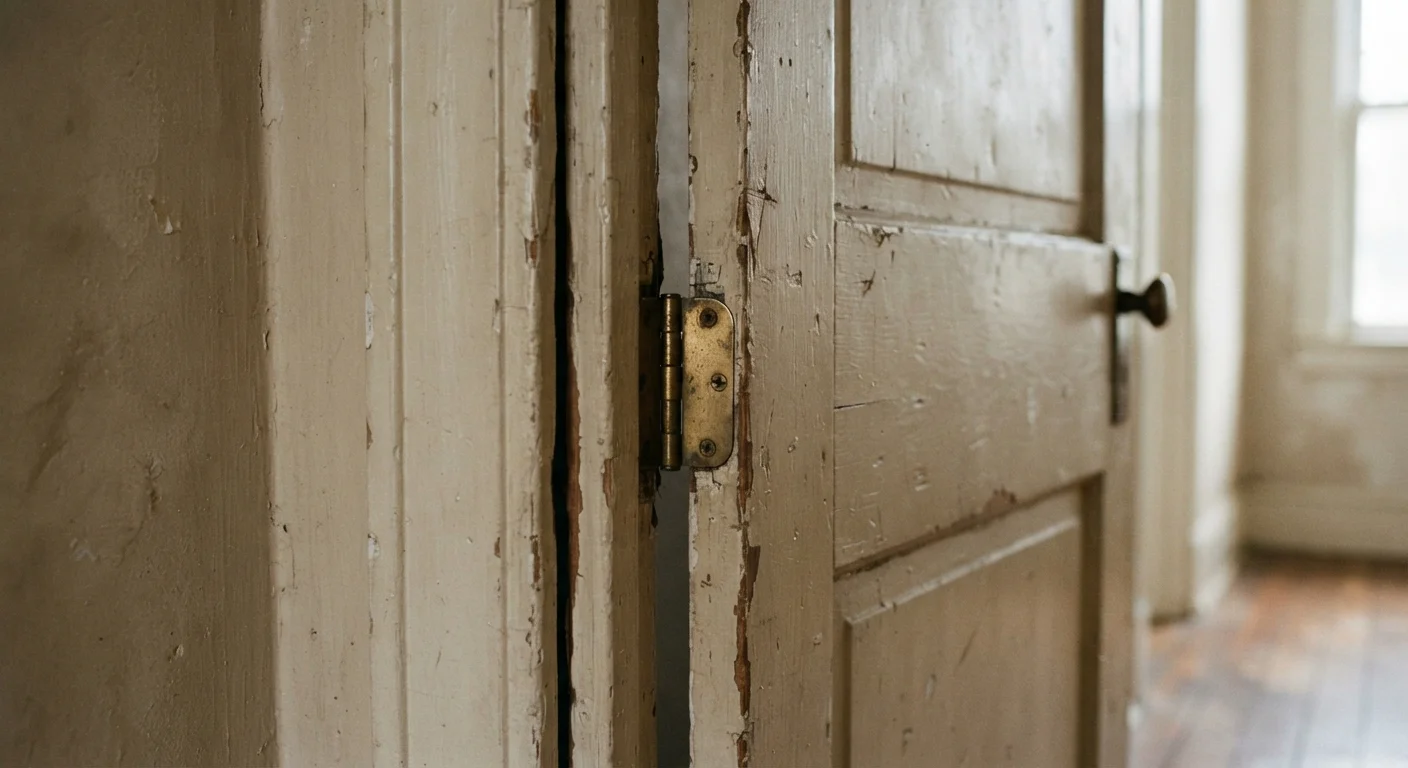
Loose hinges are responsible for a surprising number of door problems - sticking, sagging, and failed latching all trace back here. With the door open, grip each hinge leaf and try to wiggle it. Then test every screw with a screwdriver. If screws turn freely without gripping, the wood behind them has been stripped. The most effective fix is replacing those screws with longer 3-inch versions that reach through the frame and into the structural stud beneath.
Identify where and why the door is sticking
Use a pencil or chalk to rub along the door edge. Close the door - the chalk will transfer to the frame at the exact contact point. This tells you precisely where to address the problem rather than guessing. A door sticking at the top opposite the hinge side typically indicates a sagging hinge. Sticking along the latch side suggests swelling from moisture. Sticking at the bottom points to either floor settling or significant swelling.
Seasonal sticking that resolves on its own is usually just wood responding to humidity - painting bare or unpainted door edges helps reduce future moisture absorption. Sticking that doesn't resolve across seasons warrants closer attention, since it can indicate foundation movement or framing shift. In those cases, refer to our guidance on assessing a repair job before starting to decide whether professional input is needed.
Diagnose a squeaky hinge
Squeaks almost always come from metal-on-metal friction at the hinge pin. Tap the hinge pin upward with a screwdriver and hammer until you can pull it free, then coat it with petroleum jelly, bar soap, or a dry lubricant spray before reinserting. Avoid WD-40 on hinges - it cleans rather than lubricates and can attract dust over time. If the squeak persists after lubrication, the hinge itself may be bent or the hinge mortise (the routed recess in the frame) may be too shallow, causing the hinge leaf to sit proud and create friction.
Evaluate the strike plate alignment
When a latch bolt doesn't engage the strike plate, close the door slowly and watch where the bolt lands relative to the strike plate hole. A bolt that hits above or below the opening by less than 3mm can often be fixed by filing the strike plate opening slightly in the direction needed. A larger misalignment requires either repositioning the strike plate or addressing the underlying hinge sag causing it. Mark the bolt's contact point with lipstick or chalk on the bolt face, then close the door to transfer the mark onto the frame - this shows exactly where the bolt is actually landing.
Determine whether the problem is seasonal or structural
If you've worked through all the above steps and the door still misbehaves, or if you notice the frame itself looks out of square, take a step back. New gaps appearing around a previously well-fitted door - especially alongside cracks in nearby drywall or floor - can point to settling or structural movement rather than a simple door problem. Quick patches here can mask warning signs; see our article on when stop-gap fixes quietly make things worse for context. A structural concern warrants a qualified inspection before any further repair work.
Once you've identified the cause, most fixes are straightforward. But if the door problem involves air or moisture getting through the frame, there may be a weatherproofing issue worth addressing separately - our guide to weatherproofing from the outside in covers door seals and threshold gaps in detail. And if you're weighing whether to repair or simply replace an older door, the repair vs. replace decision framework can help you think through the tradeoffs practically.
Paint the Edges Before Rehinging
If you've removed a door to plane or sand an edge, take the opportunity to apply a coat of paint or primer to all bare wood edges before rehanging. Unsealed door edges absorb moisture readily, which is often what caused the swelling in the first place. A sealed edge dramatically reduces how much seasonal movement the door will experience going forward.