Why Floors Squeak: The Basic Mechanics
A squeak is almost always friction. When two surfaces rub together - a floorboard against a nail shank, one board edge against another, or a subfloor panel against a joist - the resulting sound travels up through the floor assembly and into the room. Understanding that simple cause-and-effect is the foundation for any effective repair.
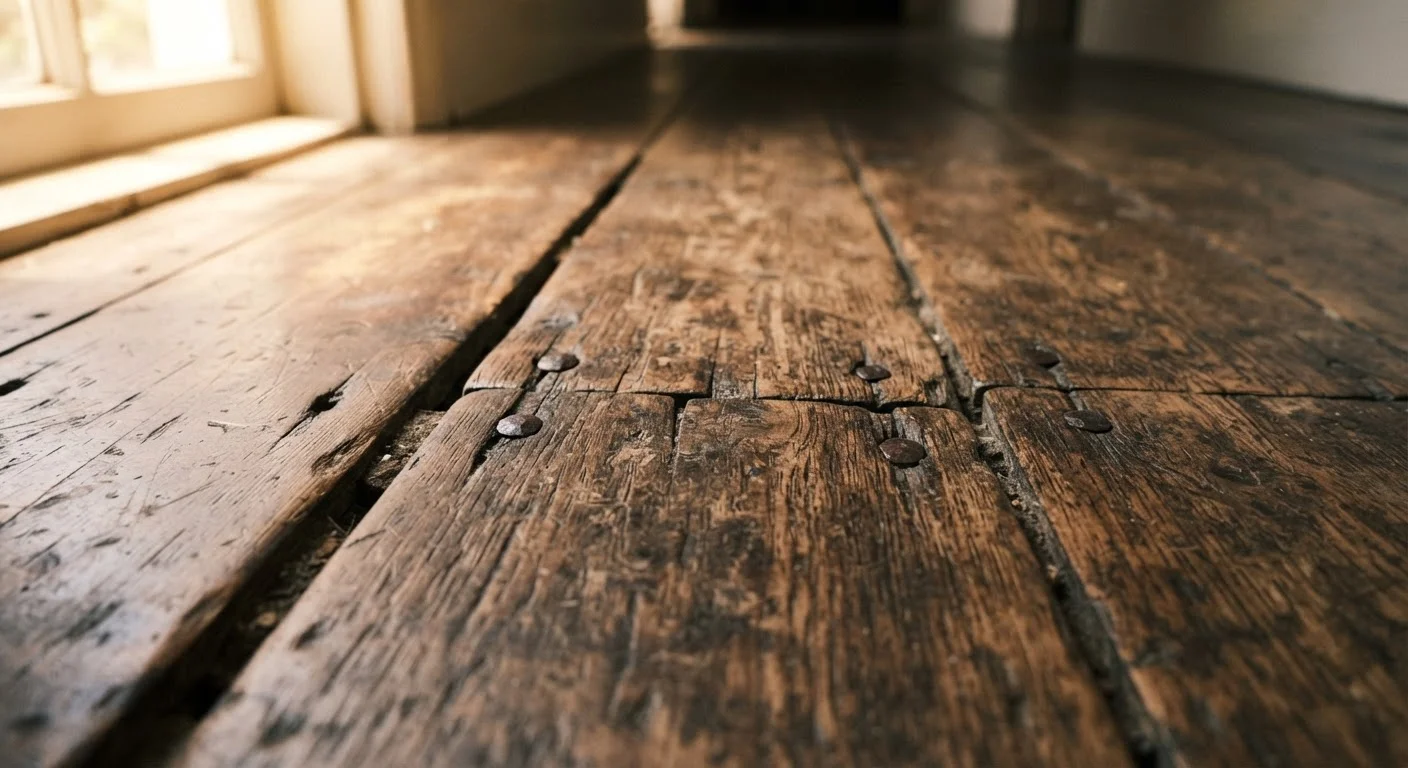
Wood is hygroscopic, meaning it absorbs and releases moisture with changing humidity. As seasons shift, boards swell in summer and contract in winter. Over years, that movement can loosen fasteners, open gaps between the subfloor and joists, and allow boards to shift underfoot. Age compounds the problem: original nails corrode and lose grip, and adhesive bonds weaken.
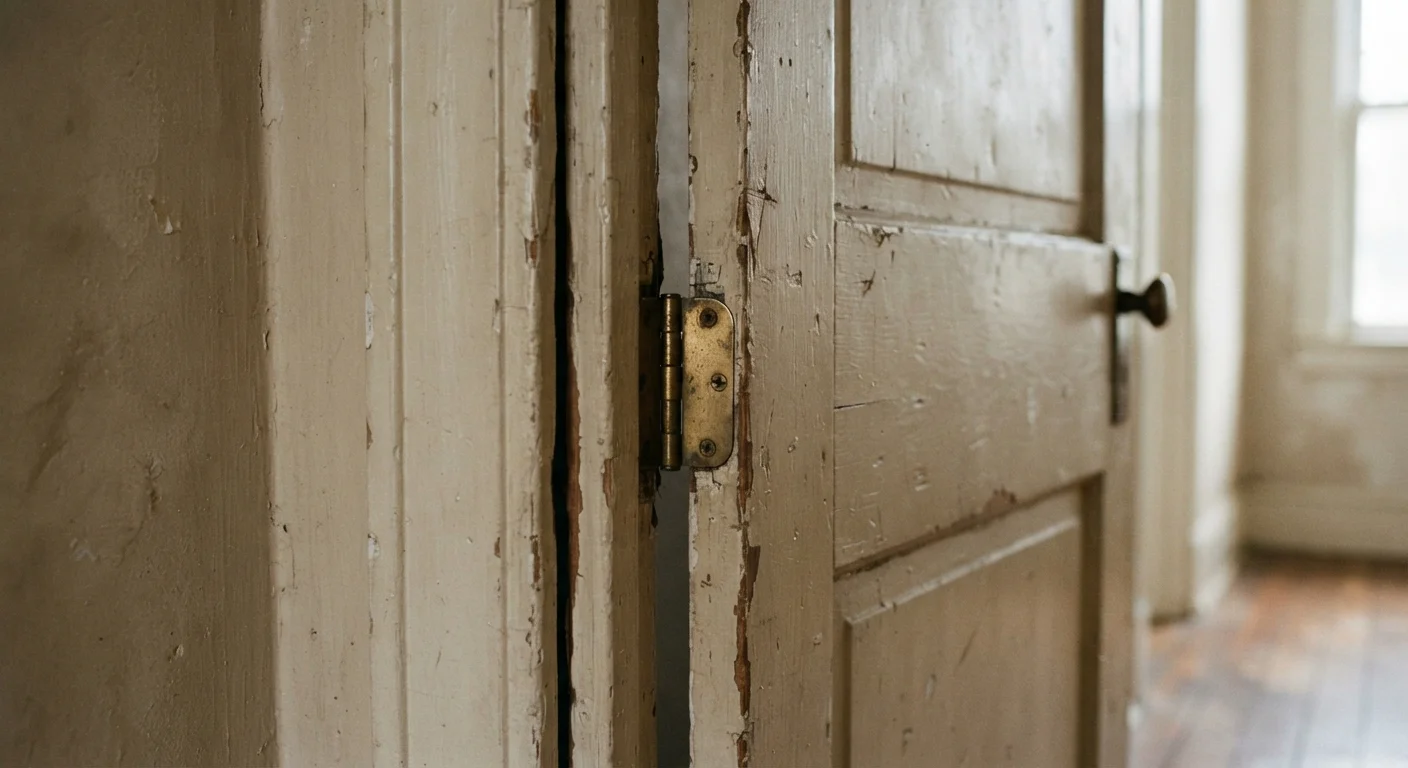
Just like a sticking or rattling door often points to frame movement or humidity changes - as outlined in our door diagnostic guide - floor noises reward a systematic approach before you reach for any tools.
Map the Squeak Before You Fix It
Resist the urge to start driving screws the moment you hear a squeak. Spending five minutes walking the area methodically and marking problem spots with tape will save you unnecessary work - and prevent you from tightening the wrong board. A precise diagnosis almost always leads to a faster, more lasting repair.
Common Causes by Room Type
Hallways and High-Traffic Corridors
Constant foot traffic accelerates nail fatigue. In hallways, the most frequent culprit is a nail pop - a fastener that has worked loose from the joist below and now lets the board rock slightly with each step. You'll often feel a slight give in the floor before you hear the squeak.
Bedrooms and Living Rooms
These rooms tend to develop squeaks from subfloor panel gaps. Plywood or OSB (oriented strand board) subfloor sheets are nailed or screwed to joists, but the adhesive between them and the joist can fail. When the panel lifts fractionally and springs back, it generates a rhythmic squeak. In living rooms over a crawl space or basement, joist movement caused by settling or inadequate bridging (the diagonal bracing between joists) is also common.
Kitchens and Bathrooms
Moisture is the primary suspect here. Elevated humidity from cooking or bathing causes repeated swelling and shrinking, which degrades adhesive bonds faster than in other rooms. If the squeak is near plumbing fixtures or appliances, rule out a slow leak before attempting any fix - water damage to a subfloor requires a different and more urgent repair path.
Staircases
Stair squeaks almost always come from the tread rubbing against the riser (the vertical face) or from a loose wedge beneath the tread. These are among the more satisfying repairs to make, since the fix is straightforward when access from below is available.
Moisture-Related Squeaks Need Different Treatment
If squeaking in a kitchen or bathroom is accompanied by any staining, soft spots, or a musty odor near the floor, stop and investigate for water intrusion before proceeding. Attempting to screw down a water-damaged subfloor can mask structural rot and make the eventual repair significantly more expensive. Have a licensed contractor assess the situation if moisture damage is suspected.
How to Fix Squeaky Floors: Step-by-Step
Work through these steps in order. Start with the least invasive approach and escalate only if the squeak persists.
What you will need
Stud finder
Locates joists beneath the finish floor so fasteners are driven into solid wood.
Drill and drill bits
Creates pilot holes to prevent wood splitting when driving screws or finish nails.
Finish nails and nail set
Used for above-floor repairs on hardwood; set below the surface to hide fasteners.
Wood shims
Fills the gap between subfloor and joist when repairing from below.
Construction adhesive
Bonds the subfloor panel to the joist to stop panel flexing and associated squeaks.
Powdered graphite or talcum powder
Acts as a dry lubricant between rubbing board edges to reduce friction-based squeaks.
Color-matched wood filler
Fills nail holes and dimples left by above-floor fastener repairs on hardwood.
Locate the squeak precisely
Walk slowly over the suspect area while a helper marks each squeak location with painter's tape. Note whether the squeak is point-specific (a single board) or area-wide (several boards across a zone). Point-specific squeaks typically indicate a single loose fastener; area-wide squeaks suggest subfloor panel separation.
Check for access from below
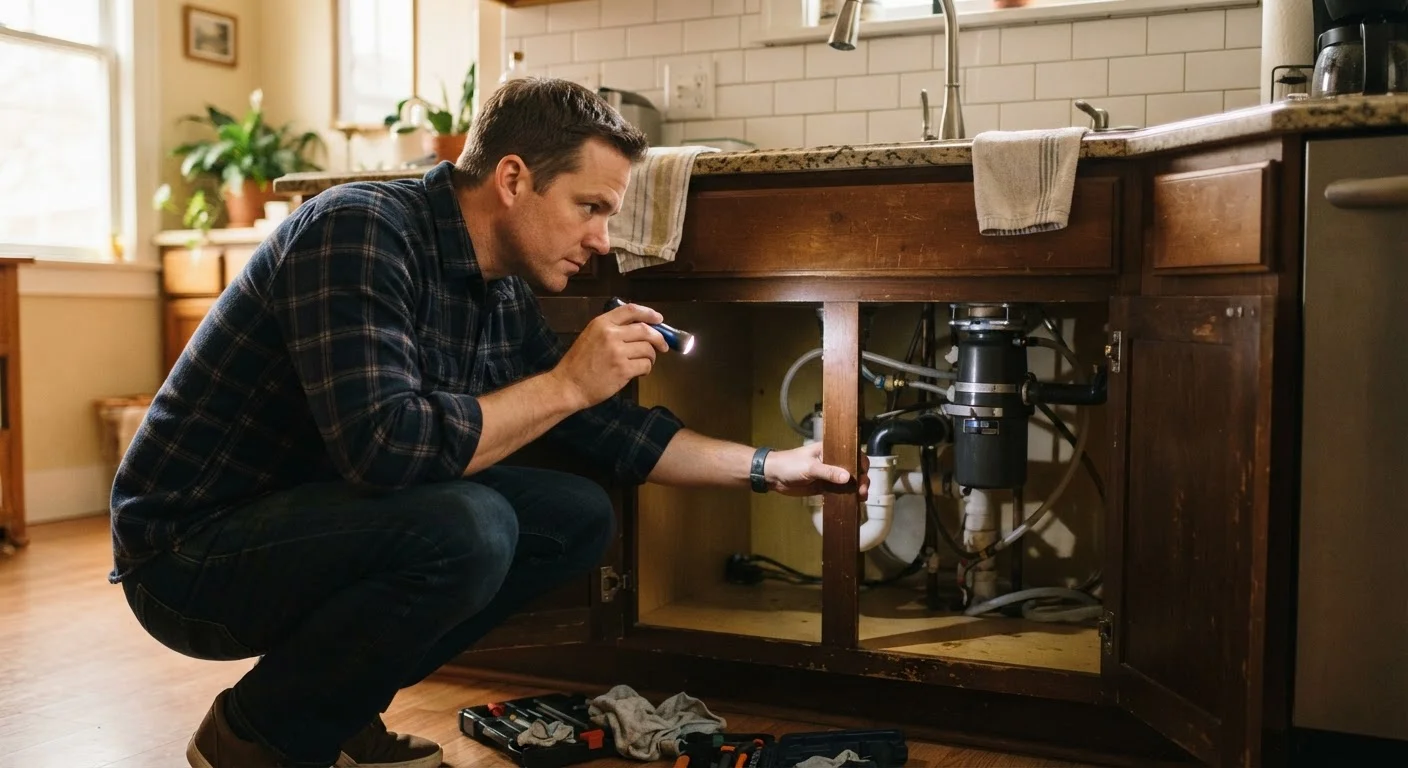
If you have an unfinished basement or crawl space, go below the squeak location while a helper walks above. You'll often see or hear the subfloor panel flex slightly, or spot the joist-to-subfloor gap directly. Access from below allows the cleanest, least visible repairs and should be your first choice when available.
Repair from below (preferred when accessible)
For a subfloor-to-joist gap: apply a thin bead of construction adhesive along the top of the joist where the panel lifts, then wedge a thin wood shim - coated with adhesive - into the gap. Do not force the shim; driving it too far will raise the floor surface above.
For a loose subfloor panel: drive a short screw (typically 1¼ inches) up through the joist and into the subfloor, stopping before it penetrates the finish flooring. This pulls the panel tight to the joist.
Repair from above (when below access is unavailable)
For nail pops and loose boards: locate the joist beneath the squeak by using a stud finder or by probing with a thin finish nail. Drive two 2-inch finish nails at opposing 45-degree angles (called toe-nailing) through the finish board and into the joist. Set the nail heads just below the surface with a nail set and fill the dimples with color-matched wood filler.
Alternatively, special squeak-repair screw kits are designed to snap off below the surface - they can work well in carpeted areas where the entry point will be hidden.
Apply dry lubricant for board-to-board friction
If boards are rubbing at their edges rather than flexing against fasteners, a dry lubricant can quiet the squeak without any fastening work. Sprinkle powdered graphite or talcum powder into the joint between boards, then work it in by covering the area with a cloth and walking over it repeatedly. Wipe away excess. This is a temporary measure - it reduces friction but does not address the underlying movement.
Test and monitor
Walk the repaired area thoroughly - in multiple directions and with varying foot pressure. If the squeak is gone, monitor the spot across one full seasonal cycle (summer through winter) to confirm the repair holds. If it returns, reassess whether moisture management or a more structural fix is needed.
When a Squeak Keeps Coming Back
A recurring squeak after repair is a signal to look deeper. Check indoor humidity levels - maintaining relative humidity between roughly 35% and 55% year-round helps reduce seasonal wood movement significantly. A whole-home humidifier or dehumidifier may help stabilize the floor assembly over time.
If the floor feels springy or soft in addition to squeaking, or if you notice staining or discoloration on the subfloor, stop and consult a licensed contractor. Those symptoms can indicate rot, structural joist damage, or an active moisture intrusion - all of which are beyond a DIY fix and potentially serious if left unaddressed.