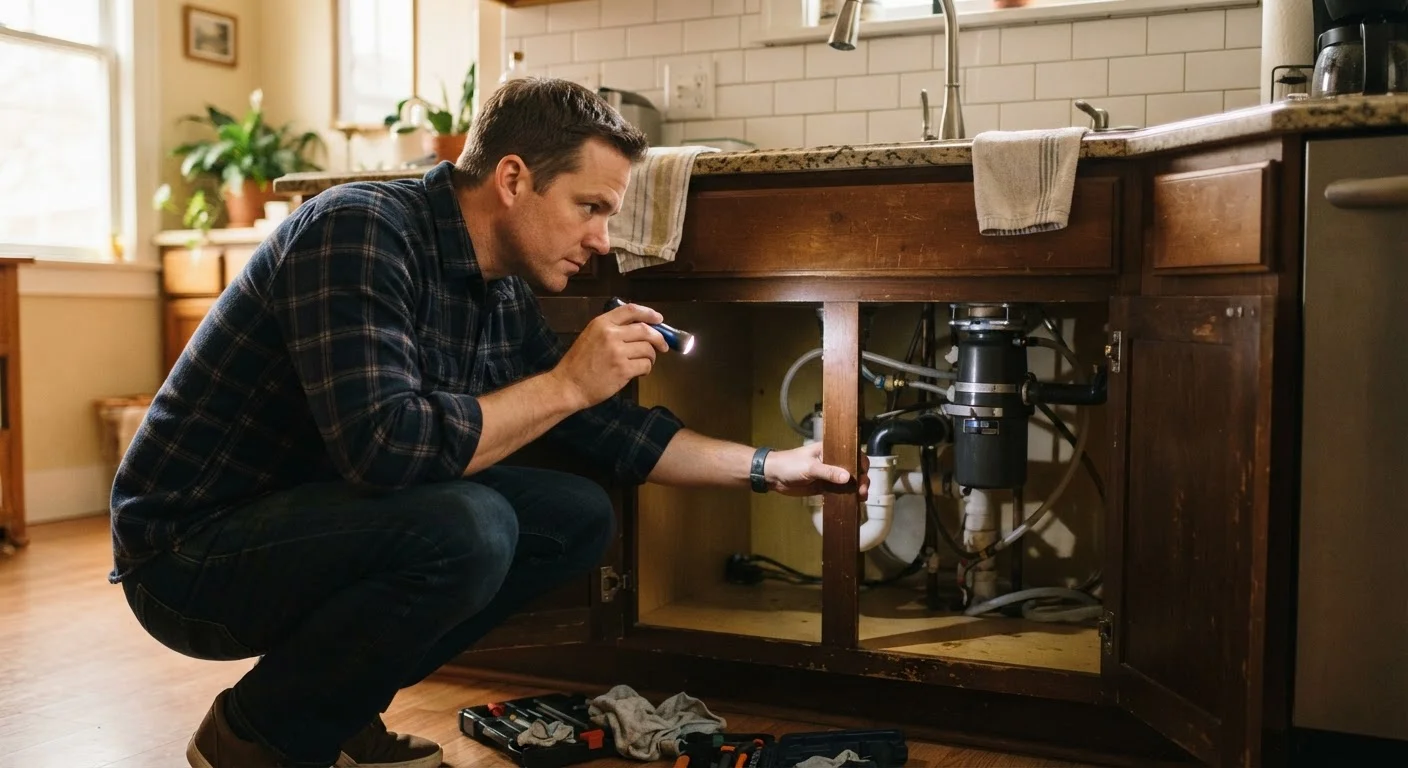

Why Assessment Comes Before Action
The most expensive home repair mistakes usually share a common origin: someone picked up a tool before they fully understood the job. A thorough pre-repair assessment is not hesitation - it is the first step of competent work.
When you read a room before touching anything, you move from reacting to a symptom to understanding a system. That shift changes everything: your materials list, your time estimate, your safety decisions, and your judgment about whether the job is yours to do at all.
Think of assessment as information gathering with a specific purpose - not to overwhelm yourself with complexity, but to make a clear, confident plan. The safe working habits for DIY repairs that experienced homeowners develop all start here, before a single screw is turned.
Root cause
The underlying reason a problem exists, as distinct from the visible symptom. Fixing only the symptom without addressing the root cause typically means the problem returns.
Efflorescence
White, chalky mineral deposits that appear on concrete, brick, or masonry surfaces when water moves through them and evaporates. It is a common signal of moisture infiltration.
Scope
The full extent of a repair job - including materials, labor, time, adjacent disruption, and any permits required. Defining scope before starting prevents mid-project surprises.
Permit
Official approval from a local building authority that allows certain types of construction or repair work to proceed. Permitted work is inspected to verify it meets safety codes.
Load-bearing wall
A wall that supports the structural weight of the building above it. Removing or modifying a load-bearing wall without proper engineering can compromise a home's structural integrity.
Subfloor
The structural layer of flooring beneath the visible surface material, such as hardwood or tile. Damage to the subfloor often signals moisture problems and requires more extensive repair than surface fixes alone.
What to Look For When You Walk the Space
Start with a slow, deliberate walk-through. Resist the urge to zoom in on the obvious problem immediately - first get a feel for the whole space. Look at the ceiling, the floor, the corners, and the adjacent walls. Patterns matter more than individual flaws.
- Water signals: Staining, efflorescence (white mineral deposits), bubbling paint, soft drywall, or a musty smell all suggest moisture. These symptoms rarely stay isolated - follow the path upward and outward to find the source.
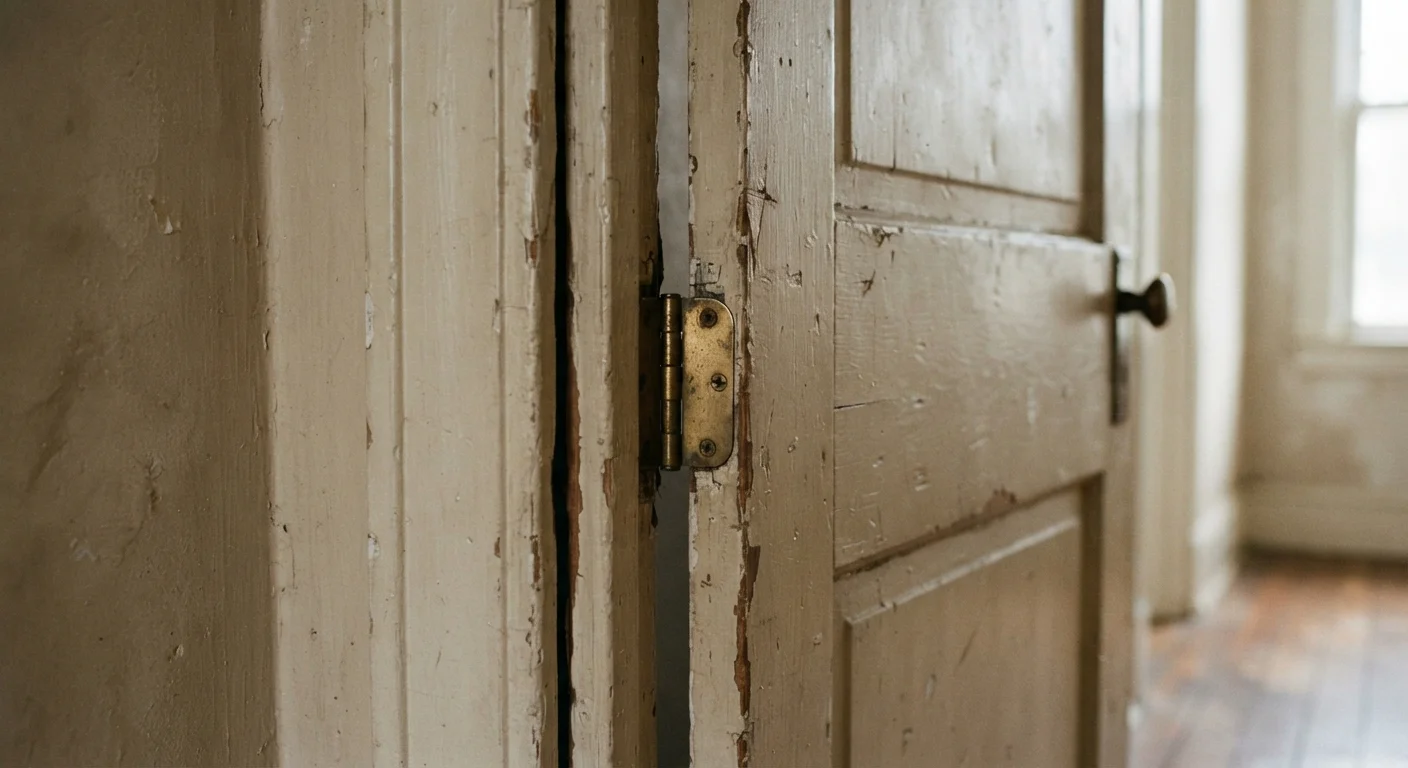
- Structural cues: Doors or windows that stick, floors that slope noticeably, or cracks that run diagonally from corners may point to settling or movement beyond cosmetic repair.
- Material condition: Press gently on surfaces. Soft, spongy, or crumbling material tells you more than visual inspection alone. Note where materials transition - seams and joints are where problems concentrate.
- Evidence of prior repairs: Mismatched paint, patched areas, or caulk over caulk suggests the problem has been addressed before. Understanding that history is part of your assessment.
Take photos as you go. A photo taken at this stage is worth more than memory when you are standing in a hardware store later.
Questions That Reveal the Real Scope
After your visual walk-through, shift into questioning mode. The answers shape your project scope more than anything you can see on the surface.
- How old is this system or material?
- Age affects both the repair method and the likelihood that adjacent components are also approaching failure. A 25-year-old roof patch may hold; the surrounding shingles may not.
- Has this problem appeared before?
- A recurring issue - a leak that returns every winter, a crack that keeps growing - signals an unresolved root cause. Treating the symptom again will produce the same result.
- What is directly above, below, and behind this area?
- Plumbing, wiring, insulation, and structural framing all influence what you can do safely and whether a permit is required. Before cutting into any wall, know what is inside it.
- What will disruption look like?
- Some repairs cascade into adjacent finishes. Replacing a cracked tile may mean matching discontinued patterns. Fixing a subfloor section may require pulling up flooring across a wider area. Factor this in before you start.
If your assessment reveals that a repair might involve your home's equity or financing, our pre-decision checklist for borrowing against your home is a helpful next step.
Write It Down Before You Move On
After your walk-through and questioning, take five minutes to write a one-paragraph summary of what you found and what you think needs to happen. This single step forces clarity and often reveals gaps in your understanding before you have committed to a course of action. It also gives you something concrete to share if you decide to call a contractor.
When the Job Belongs to a Professional
A good assessment includes an honest judgment about your own role. Some repairs are genuinely within reach of a careful, motivated homeowner. Others carry risks that make professional involvement the right call - not a defeat.
In most US jurisdictions, work involving the following almost always requires a licensed contractor and, typically, a permit:
- Electrical panel modifications, new circuits, or service upgrades
- Gas line repairs or appliance connections
- Load-bearing wall removal or modification
- Main sewer line or water service work
- Structural repairs to foundation, framing, or roofing systems
Permits exist to protect you: they trigger inspections that verify the work is safe and up to code. Unpermitted work can complicate home sales and may void homeowner's insurance coverage for related damage. Always check your local building department's requirements before starting any project of substance.
For a closer look at where the line falls in one common area, see our guide on plumbing repairs safe for homeowners. And if you want to verify what a professional assessment covers, running through a pre-call checklist can help you confirm whether a contractor is truly necessary or whether you can handle it yourself.
Do Not Assume Prior Work Was Done Correctly
Visible evidence of a previous repair - patching, caulking, paint over stains - does not mean the repair was done to code or done well. Treat prior DIY or contractor work as an unknown until you can verify it. This is especially important before cutting into walls or floors, where you may encounter wiring or plumbing that was not installed to standard.
Building Your Assessment Habit
The difference between a homeowner who dreads repairs and one who approaches them calmly is usually practice - specifically, the habit of slowing down before acting. Each assessment you complete builds a mental model of how your home works, making every future inspection faster and more accurate.
A simple framework to repeat every time:
- Observe broadly before focusing on the specific problem.
- Document with photos and brief notes.
- Ask the scope questions - age, history, adjacent systems, disruption.
- Decide your role - DIY, DIY with research, or professional referral.
- Plan before purchasing - confirm your material list against what the assessment revealed, not what you assumed at first glance.
This process costs nothing except a few minutes of attention. It pays back in avoided mistakes, accurate material purchases, and the kind of confidence that comes from genuinely knowing what you are walking into. The goal is never to do every repair yourself - it is to make informed decisions about every repair your home needs.