Why Safety Habits Matter More Than Tools
Most DIY injuries don't happen because a homeowner lacked the right wrench. They happen because of skipped steps: no eye protection, poor lighting, a ladder placed on uneven ground. Building safe working habits costs almost nothing extra, but it dramatically reduces the chance that a straightforward repair turns into an emergency room visit.
The goal of safe DIY isn't to make every task feel intimidating - it's the opposite. When you know your workspace is set up correctly and you have the right protection on, you can focus on the work itself. That confidence is what separates a frustrating repair from a satisfying one. See our guide to building a DIY toolkit to pair the right tools with these habits from the start.
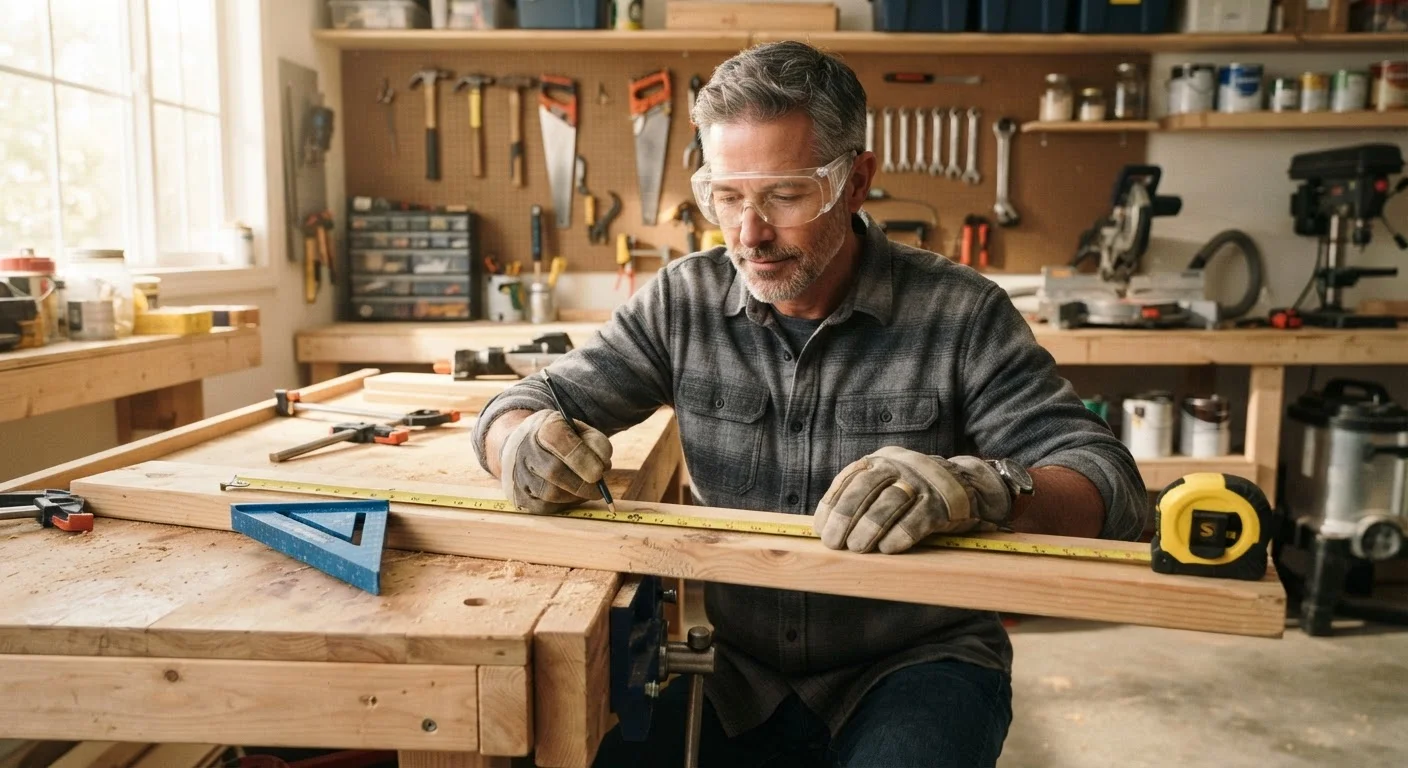
Always wear task-appropriate personal protective equipment (PPE) before beginning any repair.
Eye injuries from debris and hand injuries from cutting tools are among the most common DIY accidents - and most are preventable. Matching PPE to the specific task (safety glasses for cutting, hearing protection for loud tools, gloves for handling rough materials) significantly reduces risk without slowing you down.
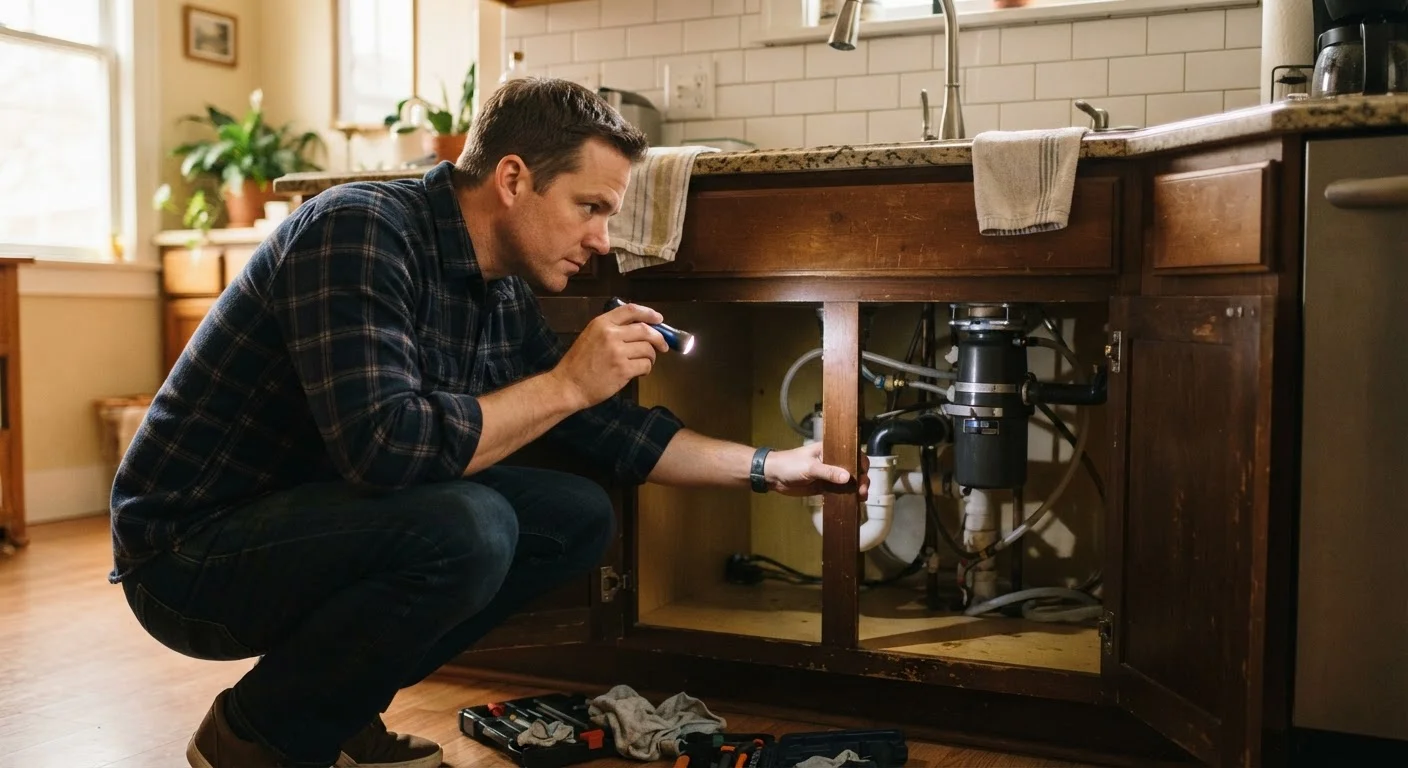
Locate and mark your utility shutoffs before beginning any repair near electrical, plumbing, or gas systems.
Not knowing where to cut power or water in an emergency can turn a manageable mishap into a serious hazard. A few minutes of preparation means you can act quickly if something goes wrong mid-repair.
Read all tool and material instructions fully before use - not just the quick-start steps.
Manufacturers include safety warnings based on real failure modes. Skipping these is a common shortcut that leads to blade kickback, improper chemical mixing, or using a tool outside its rated capacity.
Keep a stocked first-aid kit within arm's reach of your work area.
Minor cuts, splinters, and abrasions are inevitable in DIY work. Having basic wound care immediately available prevents small injuries from worsening while you search the house for supplies.
Never work alone on tasks that involve height, heavy lifting, or live utilities.
A second person serves as both a safety spotter and emergency responder. Falls from ladders and muscle injuries from awkward lifts happen quickly - having someone present can prevent a bad outcome from becoming a worse one.
Inspect all tools for damage before each use and never use a tool outside its intended purpose.
Worn blades, cracked handles, and frayed cords are common causes of tool-related injuries. Using a tool for a task it wasn't designed for multiplies that risk.
Preparing Your Workspace Before You Start
A cluttered, dimly lit workspace is one of the most consistent contributors to DIY accidents. Before touching a single tool, spend a few minutes on setup - it pays back quickly.
Clear the floor of tripping hazards, especially cords and loose materials. Make sure you have adequate lighting; a work light or headlamp is worth keeping in your kit. If you're working at height, check that your ladder is rated for your weight plus tools, and always have someone nearby when climbing. Secure your workpiece so it won't shift mid-cut or mid-drill.
It's also worth knowing which tasks carry regulatory weight. Some repairs - particularly those involving electrical panels, gas lines, or structural walls - typically require permits and licensed trades in most U.S. jurisdictions. Our article on home repairs that require a permit explains what's commonly regulated and why skipping that step can create real problems down the line.
Permits and Codes Vary by Location
Building codes and permit requirements differ significantly between U.S. states, counties, and municipalities. What is permitted work in one jurisdiction may require a licensed contractor in another. Always verify your local requirements with your municipal building department before beginning work that touches structural, electrical, gas, or plumbing systems. This article is for general educational purposes and does not substitute for local regulatory guidance.
Knowing When to Stop and Call a Pro
One of the most important safety skills is recognizing when a repair has moved beyond your current abilities or into territory that carries genuine risk. This isn't a failure - it's sound judgment that protects your home, your family, and your finances.
If you open a wall and find wiring that looks damaged, corroded, or unfamiliar, stop and call a licensed electrician. If a plumbing repair requires touching supply lines that connect to the main or involves soldering copper pipe, weigh the risk carefully - our piece on plumbing repairs safe for homeowners breaks down that boundary clearly. And before removing any interior wall, understand whether it may be load-bearing - the stakes are structural. See what every homeowner should know about load-bearing walls for a solid primer.
Quick fixes are sometimes necessary, but be honest with yourself about whether a patch is solving the problem or just delaying a larger one. When temporary fixes become permanent problems walks through several common examples worth knowing.