Why Home Grooming Matters Beyond Appearances
Cats are fastidious self-groomers, but they cannot manage everything on their own. Regular human-assisted grooming prevents matting, reduces hairball formation, keeps nails from overgrowing into the paw pads, and lets you catch early signs of skin conditions, parasites, or lumps. It is also a practical way to build physical trust between you and your cat.
For cats that spend time outdoors, grooming sessions become even more important for checking for ticks, debris, and wounds. See our overview of indoor versus outdoor lifestyle tradeoffs if you are still deciding how your cat's time is structured.
Grooming is also a component of your broader annual health routine. The year-round cat care checklist can help you schedule grooming alongside other preventive care tasks.
What you will need
Tools You Will Need
Using the right equipment makes each grooming task easier and less stressful for both you and your cat. Avoid human nail clippers, which can crush rather than cut the claw cleanly, and stay away from cotton swabs for ears. The items below cover the full range of basic home grooming needs.
Cat-specific nail clippers
Cleanly trim claw tips without crushing or splintering, reducing discomfort and the risk of cracking.
Slicker brush or deshedding comb
Removes loose fur, prevents matting, and distributes natural skin oils through the coat.
Cotton balls or gauze pads
Used to gently wipe the visible outer ear canal without pushing debris further inward.
Vet-approved ear cleaner
Loosens wax and light debris in the outer ear when cotton alone is insufficient.
Styptic powder
Stops minor bleeding quickly if a nail is accidentally trimmed too short.
Grooming mat or non-slip surface
Gives the cat stable footing during grooming, reducing anxiety caused by slipping.
Step-by-Step Grooming Instructions
Follow these steps in order during your first few sessions. As your cat grows accustomed to the process, you can combine tasks in a single sitting. Always prioritize a calm cat over a completed checklist.
Choose the right moment and setting
Timing matters enormously. Attempt grooming when your cat is naturally calm - after a meal, following a play session, or during a relaxed late-morning rest. Avoid starting a session when the cat is already alert or agitated.
Choose a quiet room with minimal foot traffic. Place a non-slip mat on a table or the floor at a level that is comfortable for you to work without hunching, which can project tension the cat picks up on.
Introduce tools before using them
Let the cat sniff and investigate each grooming tool while it is stationary. Place the brush near the cat for a day or two before the first brushing session if the animal shows wariness. Associate the tools with positive experiences by offering a treat any time the cat investigates them calmly.
Brush the coat in the direction of growth
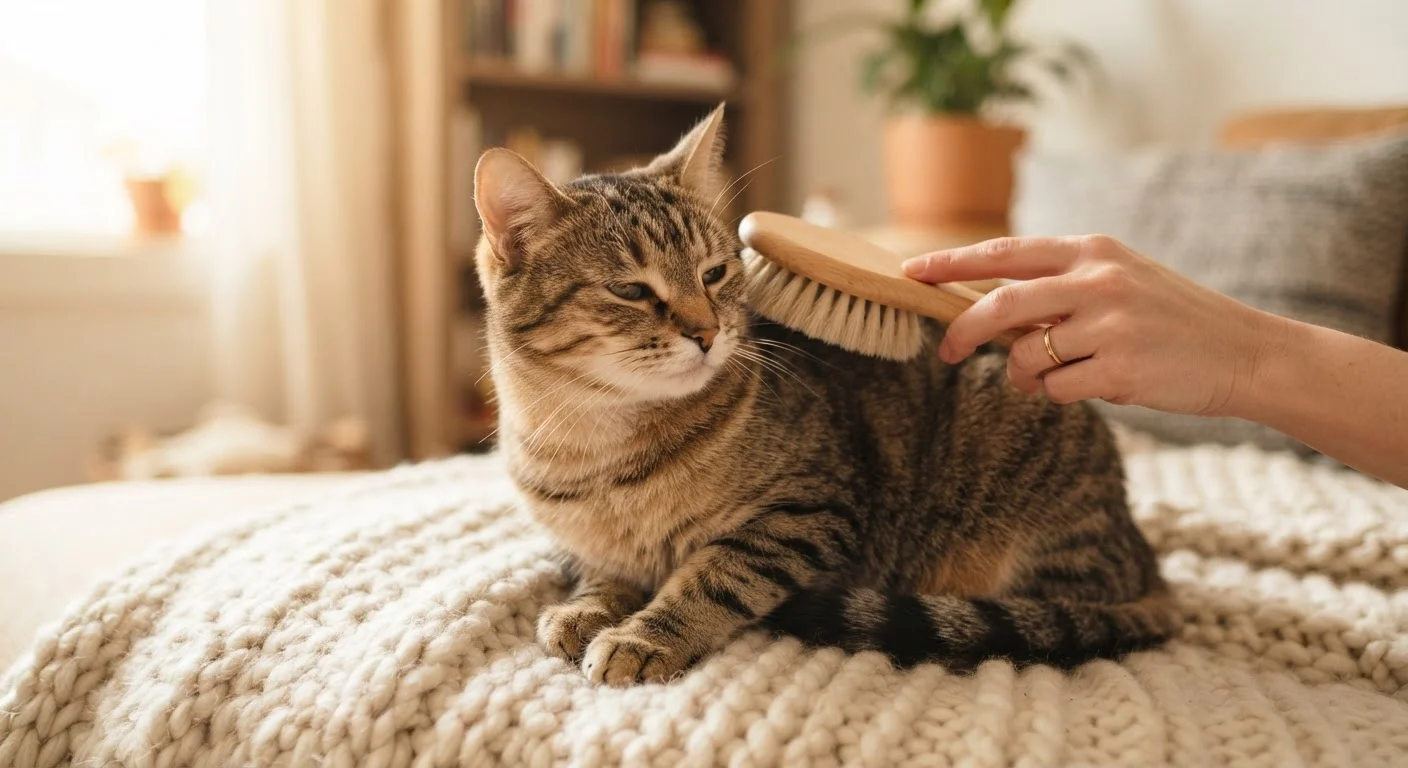
Begin brushing at the neck and work toward the tail, always moving in the direction the fur naturally lies. Use gentle, short strokes. For short-haired cats, once weekly is typically sufficient. Long-haired breeds - such as Maine Coons or Persians - may need daily attention to prevent painful matting.
Pay extra attention to areas that mat most easily: behind the ears, under the armpits, and around the collar area. Do not pull through a mat; instead, work from the outside edge inward with a wide-toothed comb or consider having a professional groomer remove severe mats.
Trim the nails carefully
Gently press the paw pad between your thumb and index finger to extend the claw. You will see a clear or white outer nail and, closer to the paw, a pink area called the quick - the blood vessel running through the nail. Trim only the curved, translucent tip, staying well clear of the quick.
Aim to trim every two to three weeks. If the cat resists, trim one paw per session and stop before stress escalates. Consistency over days is safer and more effective than forcing a full trim at once.
Check and clean the ears when needed
Healthy cat ears should look pale pink inside with little to no visible debris. Cleaning is not a weekly necessity - only intervene when you see light brown wax buildup or detect a mild odor. Fold the ear flap back gently and use a dry cotton ball to wipe only the visible outer surface. Never insert anything into the ear canal.
If you notice dark, gritty debris that resembles coffee grounds (a sign associated with ear mites), significant redness, strong odor, or if your cat shakes its head repeatedly, contact your veterinarian rather than attempting home treatment.
End every session on a positive note
Offer a treat immediately after the session ends - even if only one nail was trimmed or the session lasted two minutes. This timing is critical: the reward must follow the calm behavior, not the struggle. Over multiple sessions, most cats learn to associate grooming equipment and handling with good outcomes.
Keep early sessions brief and gradually extend duration as the cat demonstrates comfort. This incremental approach is the single most effective strategy for long-term grooming cooperation.
Start Young When Possible
Kittens handled gently during grooming routines typically remain tolerant of the process as adults. If you have recently brought home a young cat, begin brief, reward-based grooming touch practice within the first few weeks. Even if you adopt an adult cat, patience and positive reinforcement can meaningfully improve tolerance over time.
Handling Resistance and Knowing Your Limits
Not every cat will immediately tolerate grooming, and that is normal. Resistance typically looks like tail lashing, skin twitching, low growling, or an attempt to leave - these are early stress signals worth respecting. Stop the session, let the cat decompress, and try again the next day.
If a cat consistently reacts with biting or scratching, it may benefit from a gradual desensitization program. The same patient, step-by-step approach used in carrier training applies here: short exposures, no pressure, and rewards for any tolerance, however small.
Know When to Involve a Professional
Severe matting, heavily overgrown nails that have begun to curl, persistent ear odor, or a cat that becomes genuinely aggressive during grooming are all situations that warrant professional help. A veterinary visit or certified groomer can resolve these safely and give you a fresh starting point for home maintenance routines.
Grooming Reveals Health Changes Early
Regular grooming gives you consistent, close contact with your cat's body. Use each session to lightly scan for lumps, skin changes, unusual hair loss, or parasites. These observations are not a substitute for veterinary exams, but early reporting of changes to your vet can make a meaningful difference in outcomes. This article is general information - consult your veterinarian about any health concerns you notice.
This article provides general grooming education for informational purposes only and is not a substitute for veterinary advice. Consult your veterinarian with any concerns about your cat's health, skin, ears, or behavior.