Why Most Garages Stop Working (And How to Fix That)
The garage is one of the hardest-working spaces in any home - and one of the first to become unusable. Tools migrate, sports gear piles up, and seasonal decorations crowd out the car. Before long, the space built to serve you is working against you.
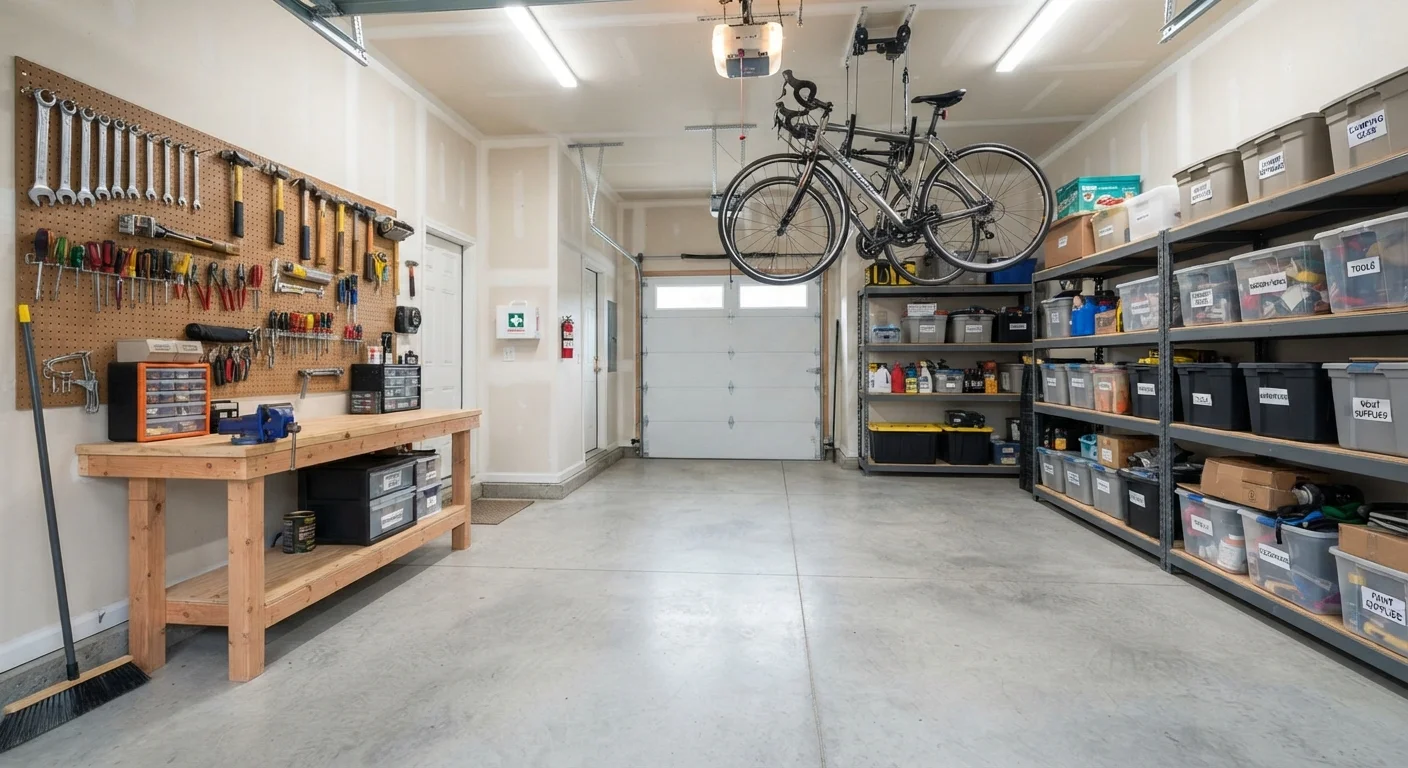
The core problem is usually a missing system, not a shortage of space. Most garages have plenty of room; it just isn't organized around how the household actually uses it. This checklist takes a zone-based approach: group related items, assign them a permanent home, and make retrieval instinctive.
If your whole home needs a reset, the room-by-room decluttering roadmap is a good companion resource. For now, let's focus on the garage.
Step 1 - Audit and Declutter
Step 2 - Define Your Zones
Step 3 - Maximize Vertical and Overhead Space
Step 4 - Contain, Label, and Access
Step 5 - Final Walk-Through and Safety Check
What You'll Need Before You Start
Resist the urge to buy storage products first. Walk the garage empty-handed, take stock of what you own, and only then identify what hardware will serve you best. The tools below are functional minimums - none require a large upfront investment.
Measuring tape
Measure wall sections, floor footprint, and shelf spacing before purchasing any hardware.
Stud finder
Locate wall studs so shelving and pegboard anchors bear real weight safely.
Label maker or permanent marker and label tape
Create clear, durable labels for bins, shelves, and drawers that hold up in a garage environment.
Clear plastic storage bins (assorted sizes)
Corral small parts, hardware, seasonal décor, and gear into visible, stackable containers.
Pegboard panel and hooks
Mount hand tools on the wall for quick access and a visual inventory of what you own.
Freestanding or wall-mounted shelving unit
Add structured vertical storage for bins, supplies, and heavier items.
Ceiling-mounted storage rack
Store bulky seasonal items overhead to keep floor and wall space clear.
Once you have your supplies, clear the entire garage floor if possible. Working from an empty slate reveals wall studs, outlet locations, and ceiling height - all critical for planning overhead and wall-mounted storage.
Don't Skip the Stud Check
Wall-mounted shelving, pegboard, and bike hooks must be anchored to studs - not just drywall. Drywall alone cannot reliably support the weight of tools, bins, or bikes, and a failed mount can cause serious injury or damage. Use a stud finder and appropriate lag screws, and when in doubt, ask a qualified handyperson rather than guessing.
Maintaining the System Over Time
An organized garage stays that way only if the system is easy enough to use consistently. Every item you add should have an assigned zone before it enters the space - the "drop it anywhere" habit is what undoes most organization efforts.
Plan a short seasonal audit (30 minutes is enough) to rotate gear in and out. For a structured approach to that process, see our guide on rotating seasonal items without chaos. If your household includes multiple people with different habits, organizing shared spaces for multiple adults offers practical strategies for keeping everyone aligned.
If your garage doubles as a workout area, the same zone logic applies - see our guide on setting up a functional home workout corner for ideas that translate well to garage-sized spaces.
Permits May Be Required for Major Changes
If your garage organization plans include adding new electrical outlets, installing a subpanel, or making structural modifications, these projects typically require permits and licensed tradespeople under most local building codes. Always check with your local building department before starting any work that goes beyond surface-level storage installation. Unpermitted work can create liability and insurance complications down the line.