Why Most Organization Attempts Fail
Most people approach organization backwards. They head to a home goods store, load up on baskets and bins, bring them home - and then try to figure out where everything goes. The result is usually a tidier-looking mess: clutter shuffled into containers rather than actually sorted.
Professional organizers start from the opposite end. Before a single container is purchased, they define how a space will be used, then sort what belongs there, and only then decide what kind of storage makes sense. This sequence - zones first, categories second, containers last - is the core framework behind nearly every professional organization system.
The good news: you can apply this thinking yourself, for little or no cost, using the same logic the pros use. If you're new to the process, a first-timer's guide to getting organized is a useful companion to the concepts here.
Step One: Define Your Zones
A zone is simply an area of your home assigned a clear purpose. Zones are defined by how you actually use a space, not by how you think you should use it. A corner of the kitchen counter that always collects mail, chargers, and keys isn't a kitchen zone - it's functioning as a command center zone. Name it honestly and design it for that use.
Common zones include: morning routine areas near an entry point, meal-prep zones in the kitchen, paperwork zones in a home office, and hobby zones wherever a craft or project naturally lands. Each zone should contain only what is regularly used in that activity.
Map Your Zones Before Moving Anything
Resist the urge to start rearranging items right away. Spend 10-15 minutes walking through the space and writing down what activities happen there and what items are consistently present. This simple audit makes the zoning step much more accurate - and prevents you from reorganizing twice.
Once your zones are mapped, walk through your home and note where things consistently end up - not where you think they belong. Real-world habits are the most reliable guide to effective zone placement.
Step Two: Sort Into Categories
Once you know what a zone is for, you sort its contents into categories - logical groupings based on use, frequency, or type. This is where most of the real decision-making happens.
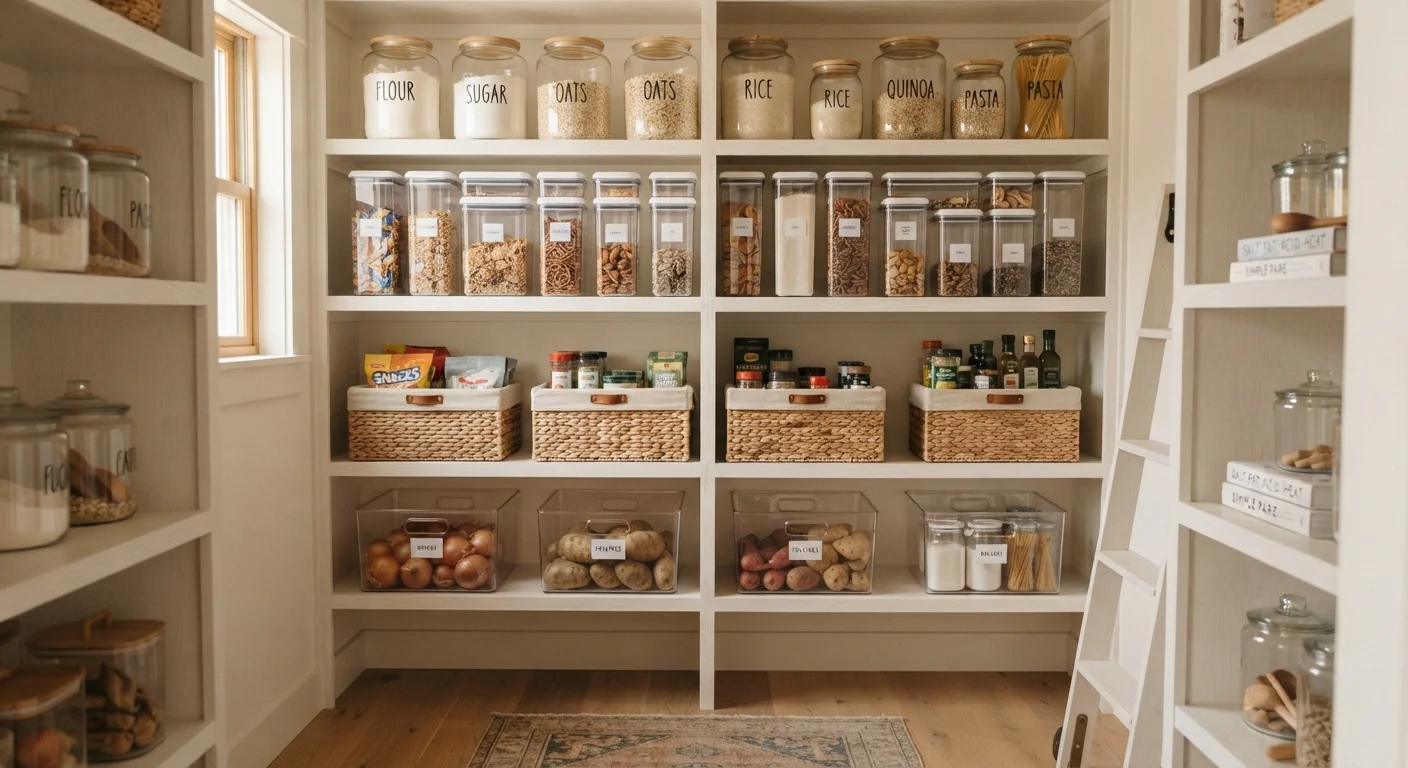
Pull everything out of the space. Then group items by asking: Do these things get used together? Do they get used at the same frequency? A pantry might yield categories like 'everyday cooking staples,' 'baking supplies,' 'snacks,' and 'rarely used specialty items.' Each category then earns its own dedicated spot within the zone.
Frequency matters too. Daily-use items should be at eye level and easy to reach. Seasonal or rarely used items can live on higher shelves or toward the back. This is how professional organizers make a space feel intuitive - the most-reached-for things are always the most accessible. For a room-by-room breakdown of how to apply this, see the room-by-room decluttering roadmap.
Step Three: Choose Containers That Fit the Category
Only after your zones are defined and your categories are sorted should you think about containers. At this point, you know exactly what you're storing, how much of it there is, and how often it's accessed - which means you can choose containers that actually fit the job.
Different categories call for different container types. Loose, small items (rubber bands, batteries, craft supplies) benefit from drawer dividers or small bins with distinct sections. Larger, grouped items (cleaning supplies, sports gear) work better in open-top bins or baskets that allow quick grab-and-go access. For a detailed breakdown of which container type suits which storage need, learn what each container type does best.
Labels are a simple but powerful finishing step. Even a piece of masking tape with a handwritten word makes it dramatically easier for everyone in the household to maintain the system. Labels remove ambiguity - and ambiguity is where clutter begins.
You Don't Need to Buy Containers Right Away
It's common to realize, after sorting into categories, that you already own containers that fit - they were just holding the wrong things. Redistribute what you have first. Only buy new containers for categories that genuinely have no suitable home yet. This approach keeps costs down and avoids the trap of over-containerizing.
Building a System That Holds Over Time
A well-designed organization system isn't something you set up once and never revisit. Life changes - habits shift, families grow, seasons rotate. Professional organizers build in regular review points, typically twice a year, to assess whether zones still match how a space is being used.
For households with multiple people, the system also needs to account for different habits and comfort levels with tidiness. What works for one person may create friction for another. Designing systems for shared spaces is a separate challenge worth thinking through intentionally.
Seasonal rotation adds another layer of complexity - winter coats, holiday décor, and gardening tools all move in and out of active use. A structured approach to seasonal rotation keeps that churn from unraveling the rest of the system.
The underlying principle is always the same: when every item has a clearly defined home, putting it back takes no more effort than taking it out. That's not a luxury of a perfectly styled home - it's the practical result of thinking in zones, categories, and containers.
80%
Of clutter comes from disorganization, not lack of space
This figure is widely cited by professional organizing practitioners to illustrate that most storage problems are system problems, not space problems.
30 min
Average weekly time lost searching for misplaced items
Estimates from home organization research suggest households without defined storage systems spend significant time each week locating everyday items.